Installation Instructions
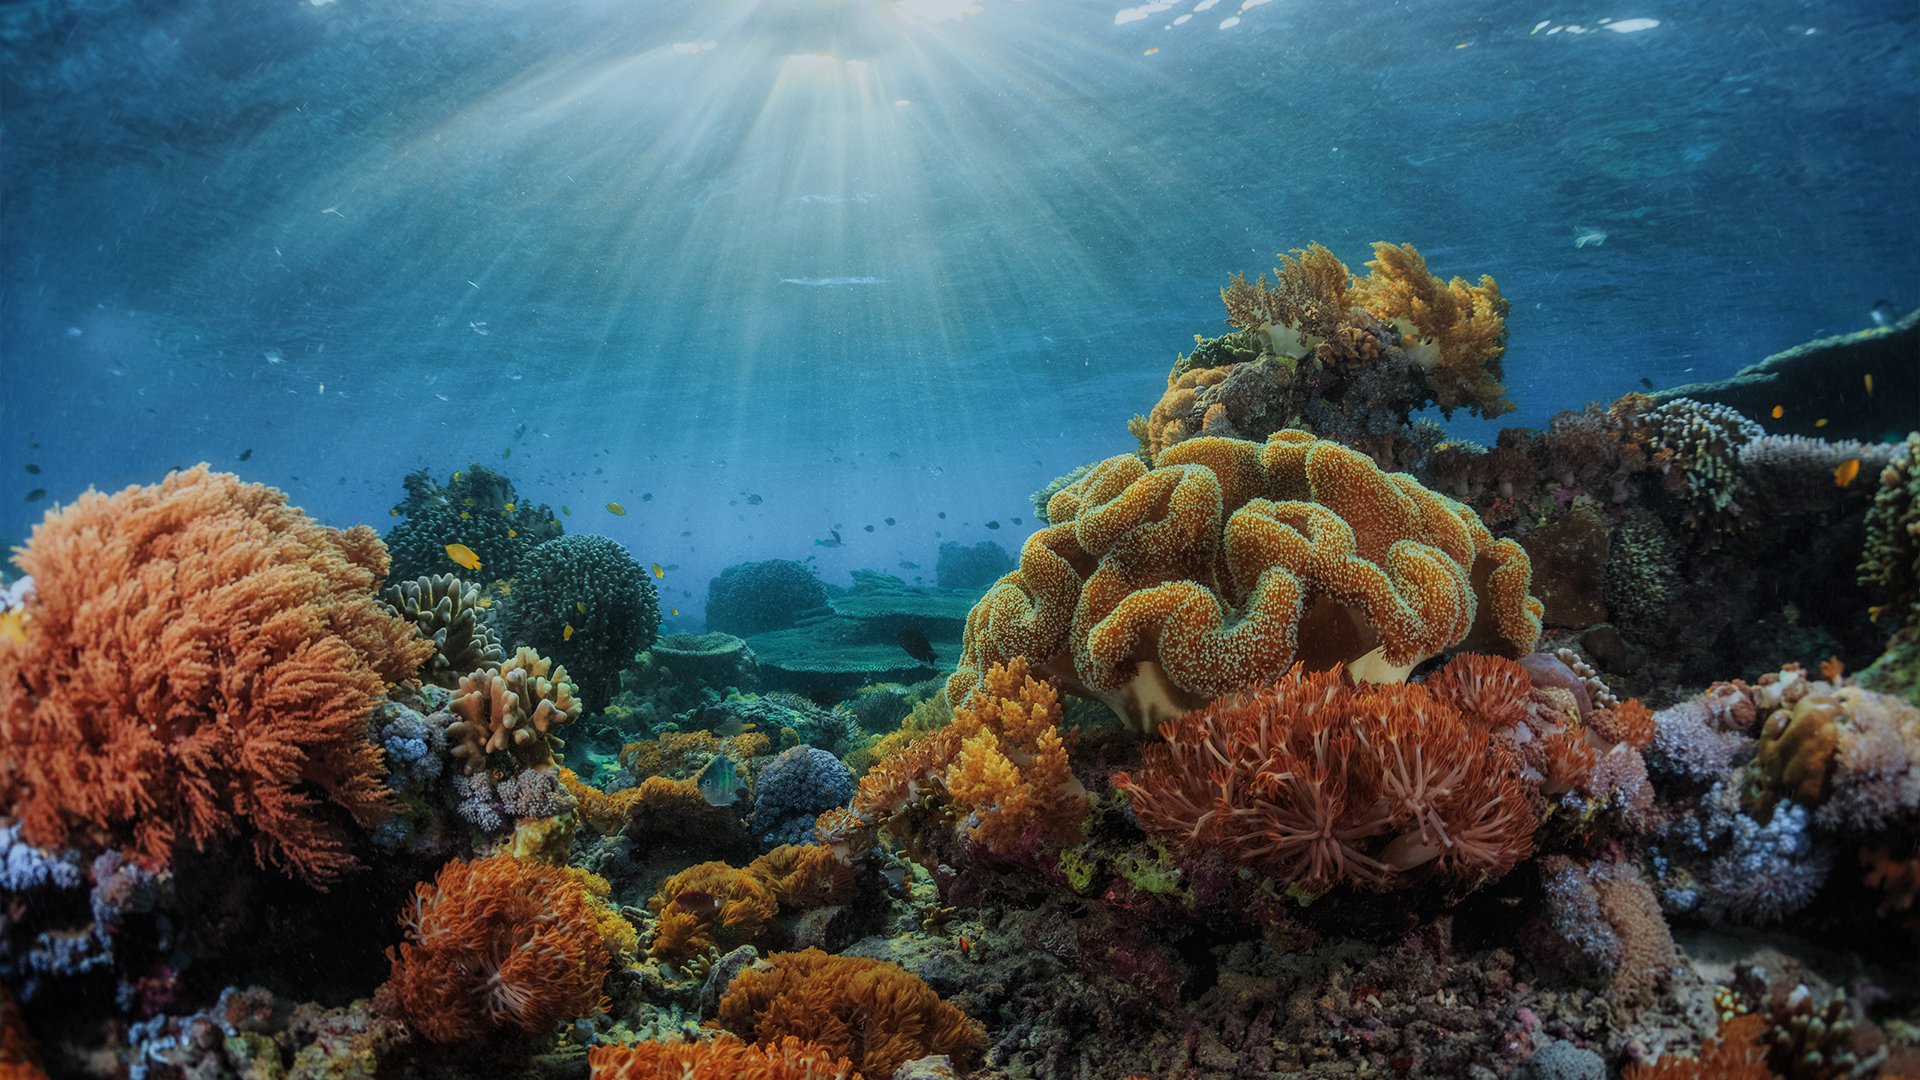
Our premium quality, self-adhering backgrounds are easy to apply to the exterior of your tank.
View or download our installation instructions below.
If you need additional assistance, email [email protected] before beginning.
Your Vinyl

Your aquarium vinyl background is composed of 2 layers:
The self-adhering vinyl print (your graphic)
The semi-transparent backing film, located on the front of the print (to be peeled off during application)
Also included is a smoothing squeegee for graphic application.

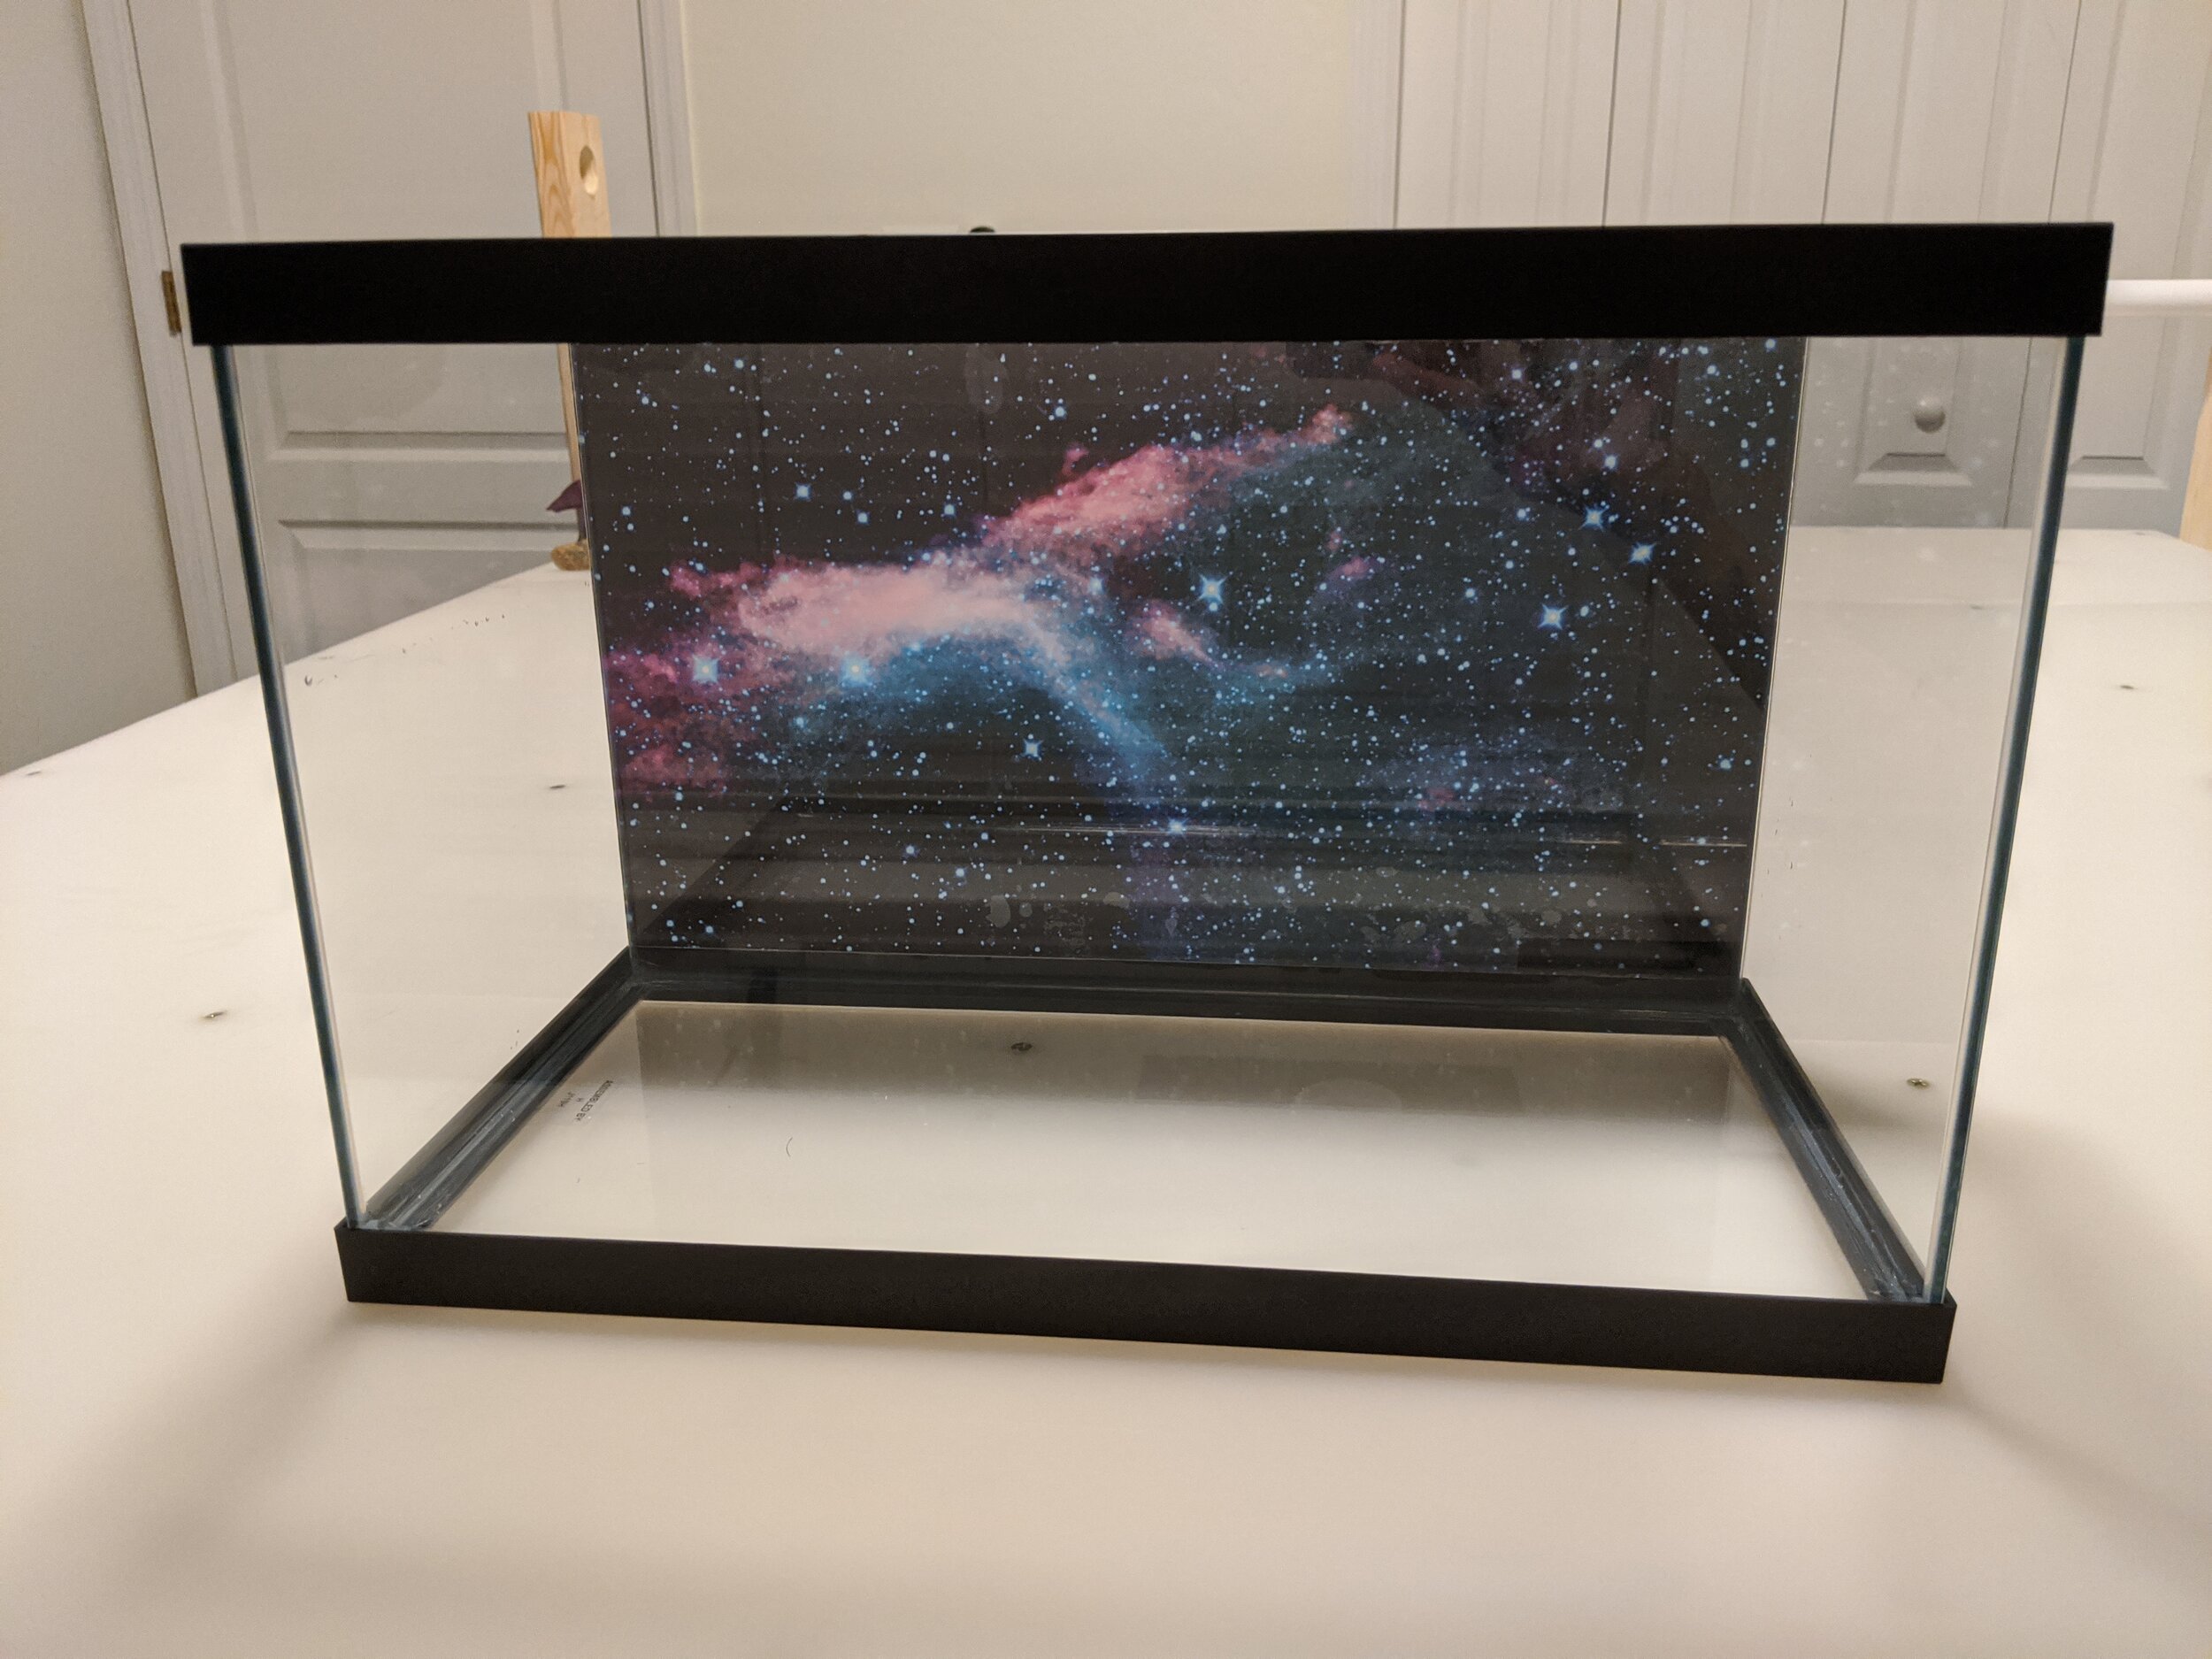
Vinyl background & semi-transparent backing film
IMPORTANT:
All vinyl backgrounds and decals should be installed on the exterior of your tank only.
DO NOT install any vinyl products on the inside of your tank.
DO NOT bend or crease the material
DO NOT remove the semi-transparent backing film before reading the installation instructions
Hardware & Prep.

Clean tank surface of all debris with a dampened cloth & dry thoroughly.
Make sure all obstructive hardware is removed. For best results, install on the outside of an empty tank. Take care not to bend or crease the material.
If possible, we recommend laying the tank face-down on a flat, sturdy surface. Backgrounds can be installed on standing tanks, as long as you can reach the entire back of the tank (the center and all four corners).

Clean tank laying face down
Arrange all supplies for easy access:
Vinyl Graphic (your aquarium background)
Application Squeegee (included with purchase)
Masking Tape (Not Included)
Small spray bottle filled with filtered water, or a wet cloth (Not Included)
Scissors, Razor Blade, or Exacto Knife (Optional, Not Included)
1. Anchoring

IMPORTANT:
DO NOT peel off the semi-transparent backing film before this step.
With the help of a friend, align the graphic (with the backing still attached) facedown along the top edge of the tank.
Using a strip of masking tape (shown in pink in the illustration), anchor the graphic in the center. Larger backgrounds may require more than one anchor.
NOTE:
If your background is slightly larger than the glass / acrylic area, don’t worry!
Simply align the graphic to the top edge and use a pencil to lightly mark the trim line along the back of the print.
Move the background to an appropriate cutting surface (such as a craft mat or cutting board) and carefully cut the excess material off of the bottom edge using an Xacto knife, razor blade or scissors before applying the background to the tank.
DO NOT attempt to cut the background while it is on the tank.

Background anchored with masking tape
2. Trim Backing

(A) Carefully peel back the vinyl print from the backing (shown in blue in the illustration) of one side.
(B) Trim the exposed backing up to the tape, taking care not to cut the graphic.
(C) To give the material more flexibility during application, lightly spray the glass using a spray bottle filled with filtered water before applying the graphic.

(A) - Peel the backer from the graphic

(B) - Cut the backer

(C) - Spray a little water on the tank
3. Apply Vinyl

(A) Hold the now exposed graphic taut by the edge.
(B) Use the soft felt side of the included squeegee to slowly work the adhering side onto the tank surface at an angle from top to bottom, working from the center of the graphic outwards to the edges. The vinyl should be applied in controlled, even strokes to work out any bubbles or wrinkles.
If air gets trapped, the material can be gently lifted up and re-applied to work out the air.
NOTE:
In the event of a bubble, don’t panic!
You can simply peel back the material and use the squeegee to gently push the air out towards the edges. Using water aids in this process.

(A) - Hold the edge of the graphic

(B) - Use the squeegee to apply the background to the tank
4. Repeat Application

(A) With first side applied, remove the masking tape strip and peel back the graphic. Remove the remaining backing (shown in blue in the illustration).
(B) Repeat Step 3 to apply the second half of the vinyl print to the tank.
NOTE:
Don’t worry if you can’t work out all of the small bubbles - those tend to work themselves out with a little time. You can see an example of this process here.
Letting the background sit for 2-3 weeks after the initial application allows all of the bubbles to settle out on their own.

(A) - Remove masking tape

(B) - Wet the tank and remove the backer from the graphic

(B) - Use the squeegee to apply the background to the tank
5. Success! Your vinyl graphic is installed and ready for action!
We’d love to see it!
Email us a photo at [email protected], or share it with us on social media, and receive a coupon code for 25% off your next purchase.

(5) - Background fully adhered to tank
(5) - FINISHED!
NOTE:
If small bubbles remain (or appear after installation), don’t panic!
They’ll work themselves out as the material settles over time.
Large bubbles can be corrected by gently lifting the material and working out the air with the squeegee while re-applying it to the tank. Our backgrounds are repositionable, and this can be done as many times as you need. We recommend letting the background sit for 2-3 weeks after the initial application (or 2-3 weeks after filling the tank with water) to allow all of the bubbles to settle out on their own.
6. Removal & Storage
IMPORTANT:
DO NOT bend the corners!
Apply 3” to 4” of scotch tape onto any corner of the background. Pull the extended tape to lift the print from the tank surface. If a crease or bend is created, you can try bending the material in the opposite direction to flatten.
If you plan to reuse the product, store it rolled up in its original tube with the adhering side on the inside of the roll. You can gently rinse or wipe with a wet cloth to remove any debris before re-applying. If the adhering side collects too much dust, dirt, or fibers, it will become less effective in sticking properly to the tank.
We offer optional replacement backing paper for storage that offers added protection to the adhering side of the material while it is not in use.