Installing a background on an established, standing tank

Step 1. Drain the tank as much as possible.
Drain the tank of as much water as possible. Remove any decorations to reduce the weight of the tank as much as possible.

Step 2. Move tank carefully away from the wall.
Carefully move the tank away from the wall. It is a good idea to enlist the help of a friend if you can.

Step 3. Make sure you have enough room to work.
Once you have the tank moved, be sure you have enough room to work behind the tank. The more space you have, the easier the installation will be. You need to be able to reach the middle and all corners of the back surface of the tank. Installing a background on a tank that’s standing up is difficult enough, you don’t want to add to that by having to lean over behind the tank!

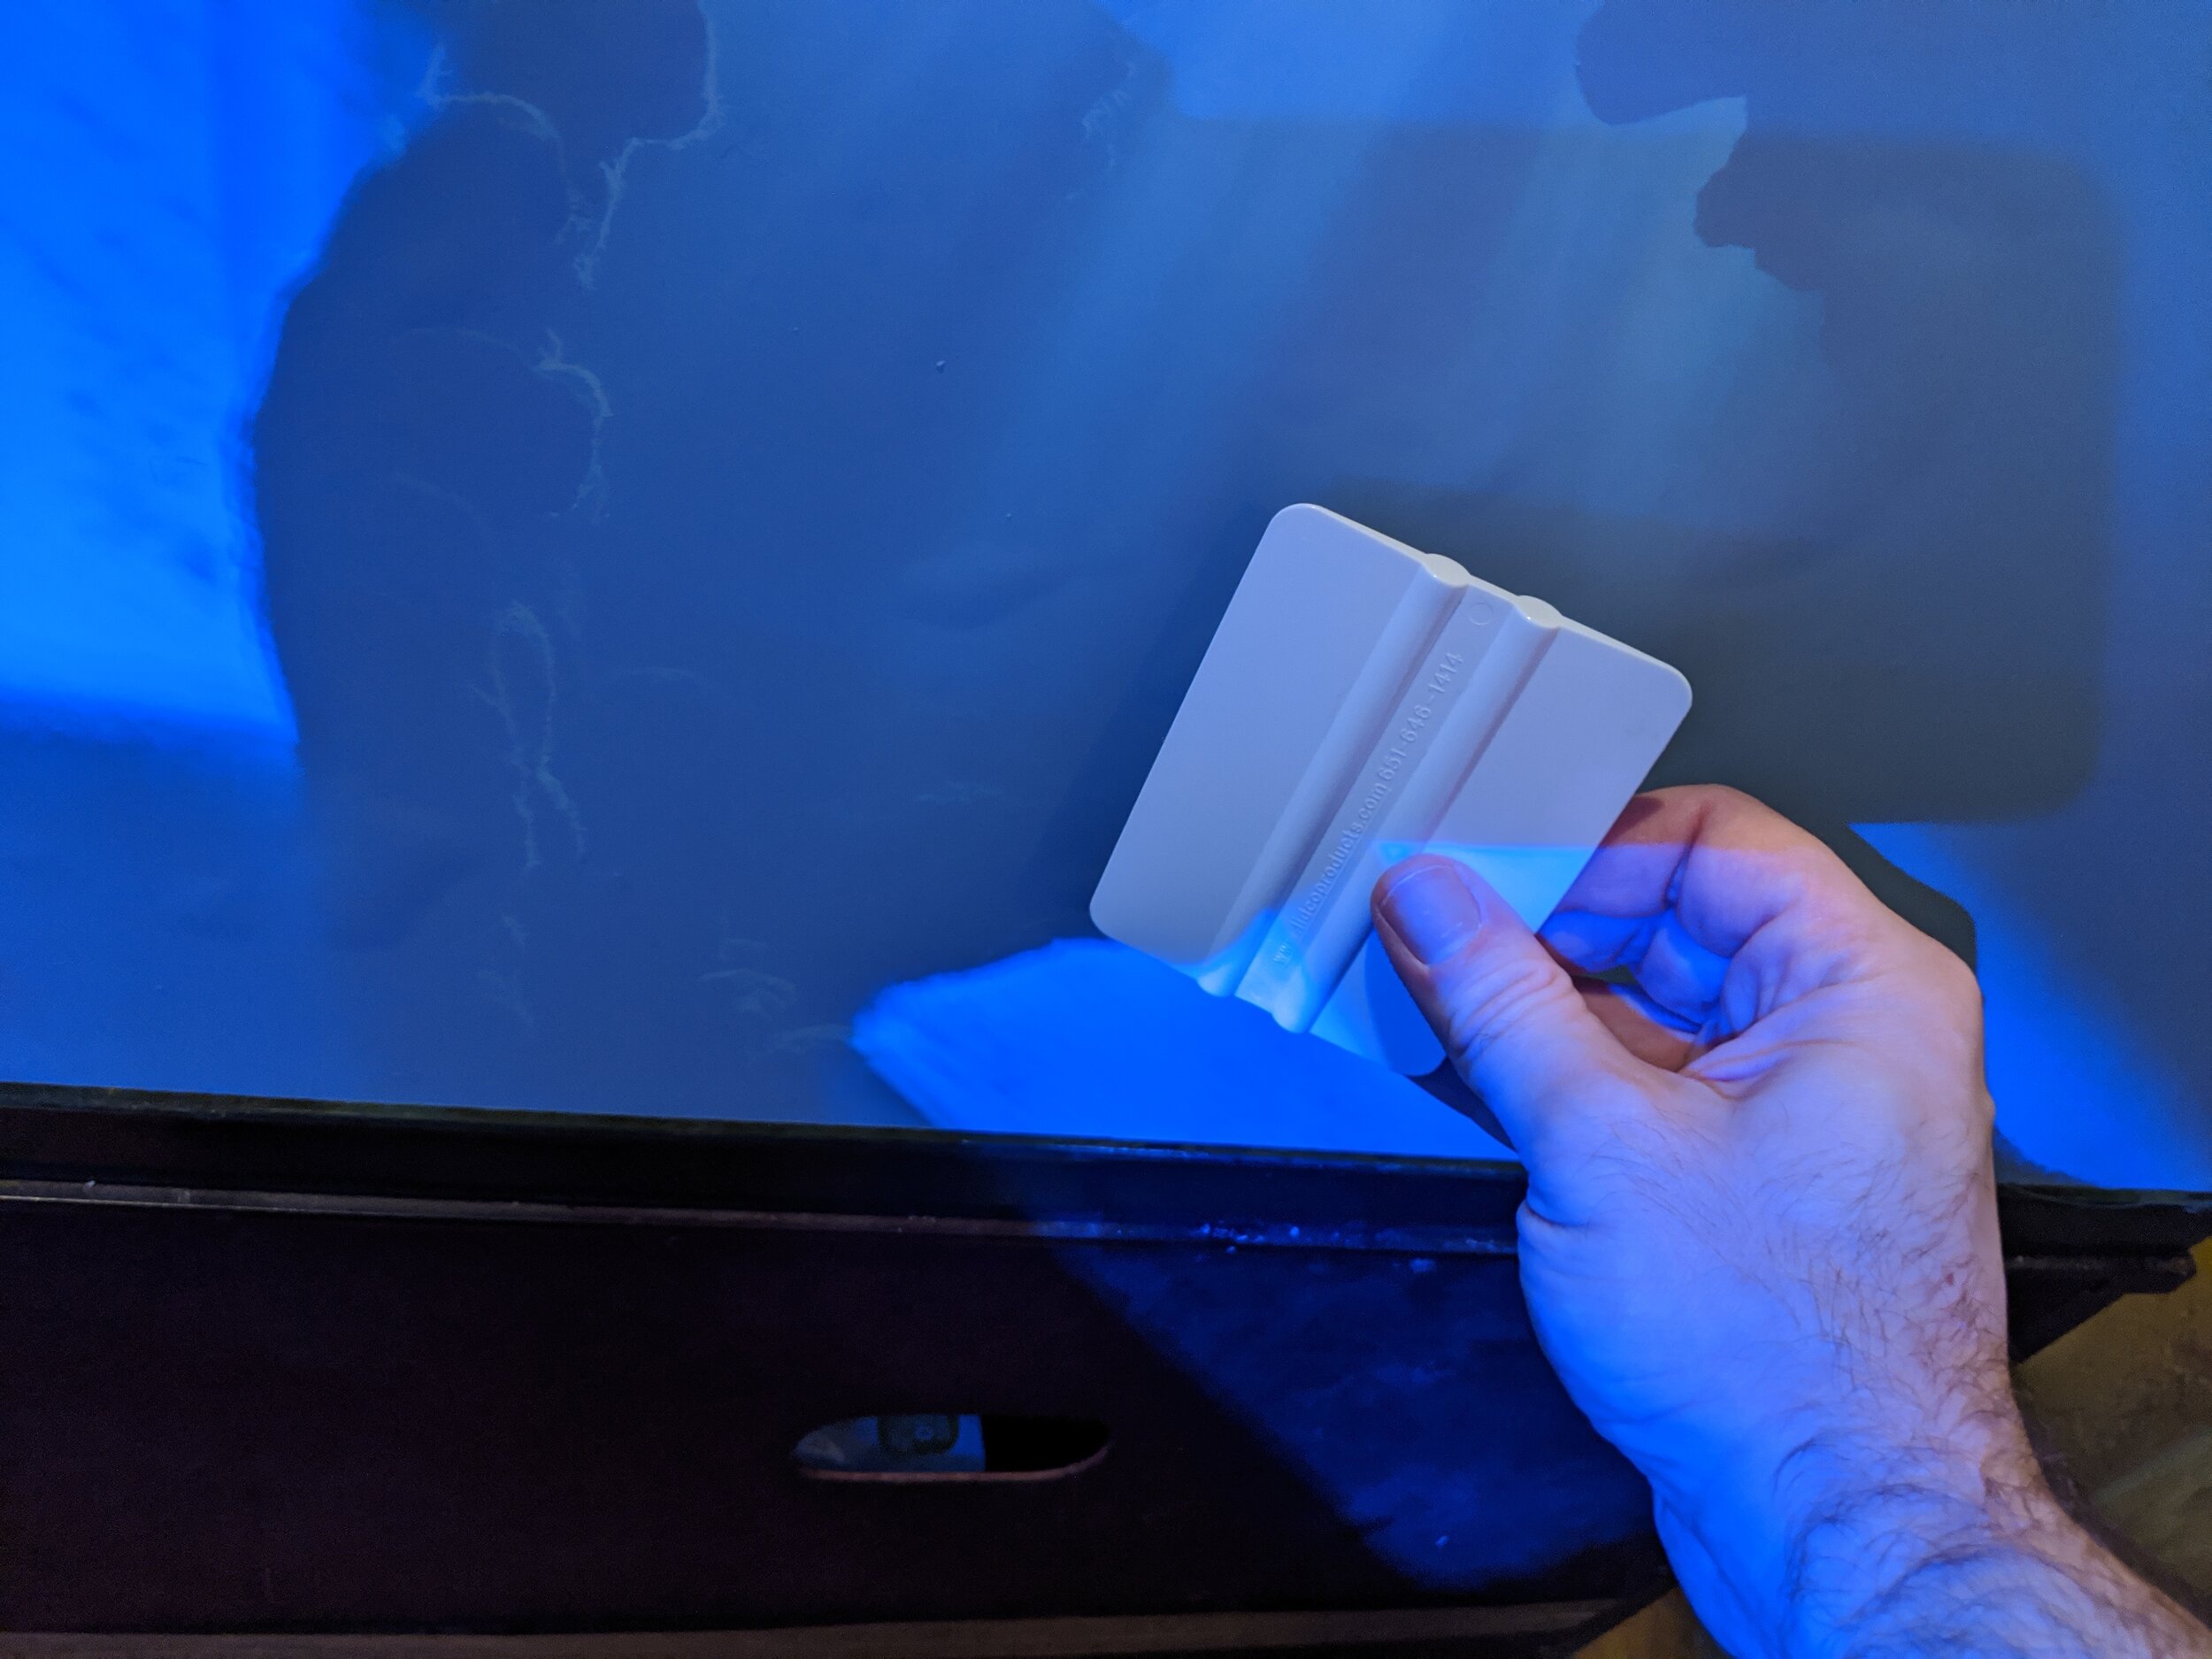
Step 4. Secure the background to the tank, be sure to follow our installation instructions
Secure the background with masking tape. Follow our installation instructions for securing, de-backing and smoothing the background to adhere it to the tank.

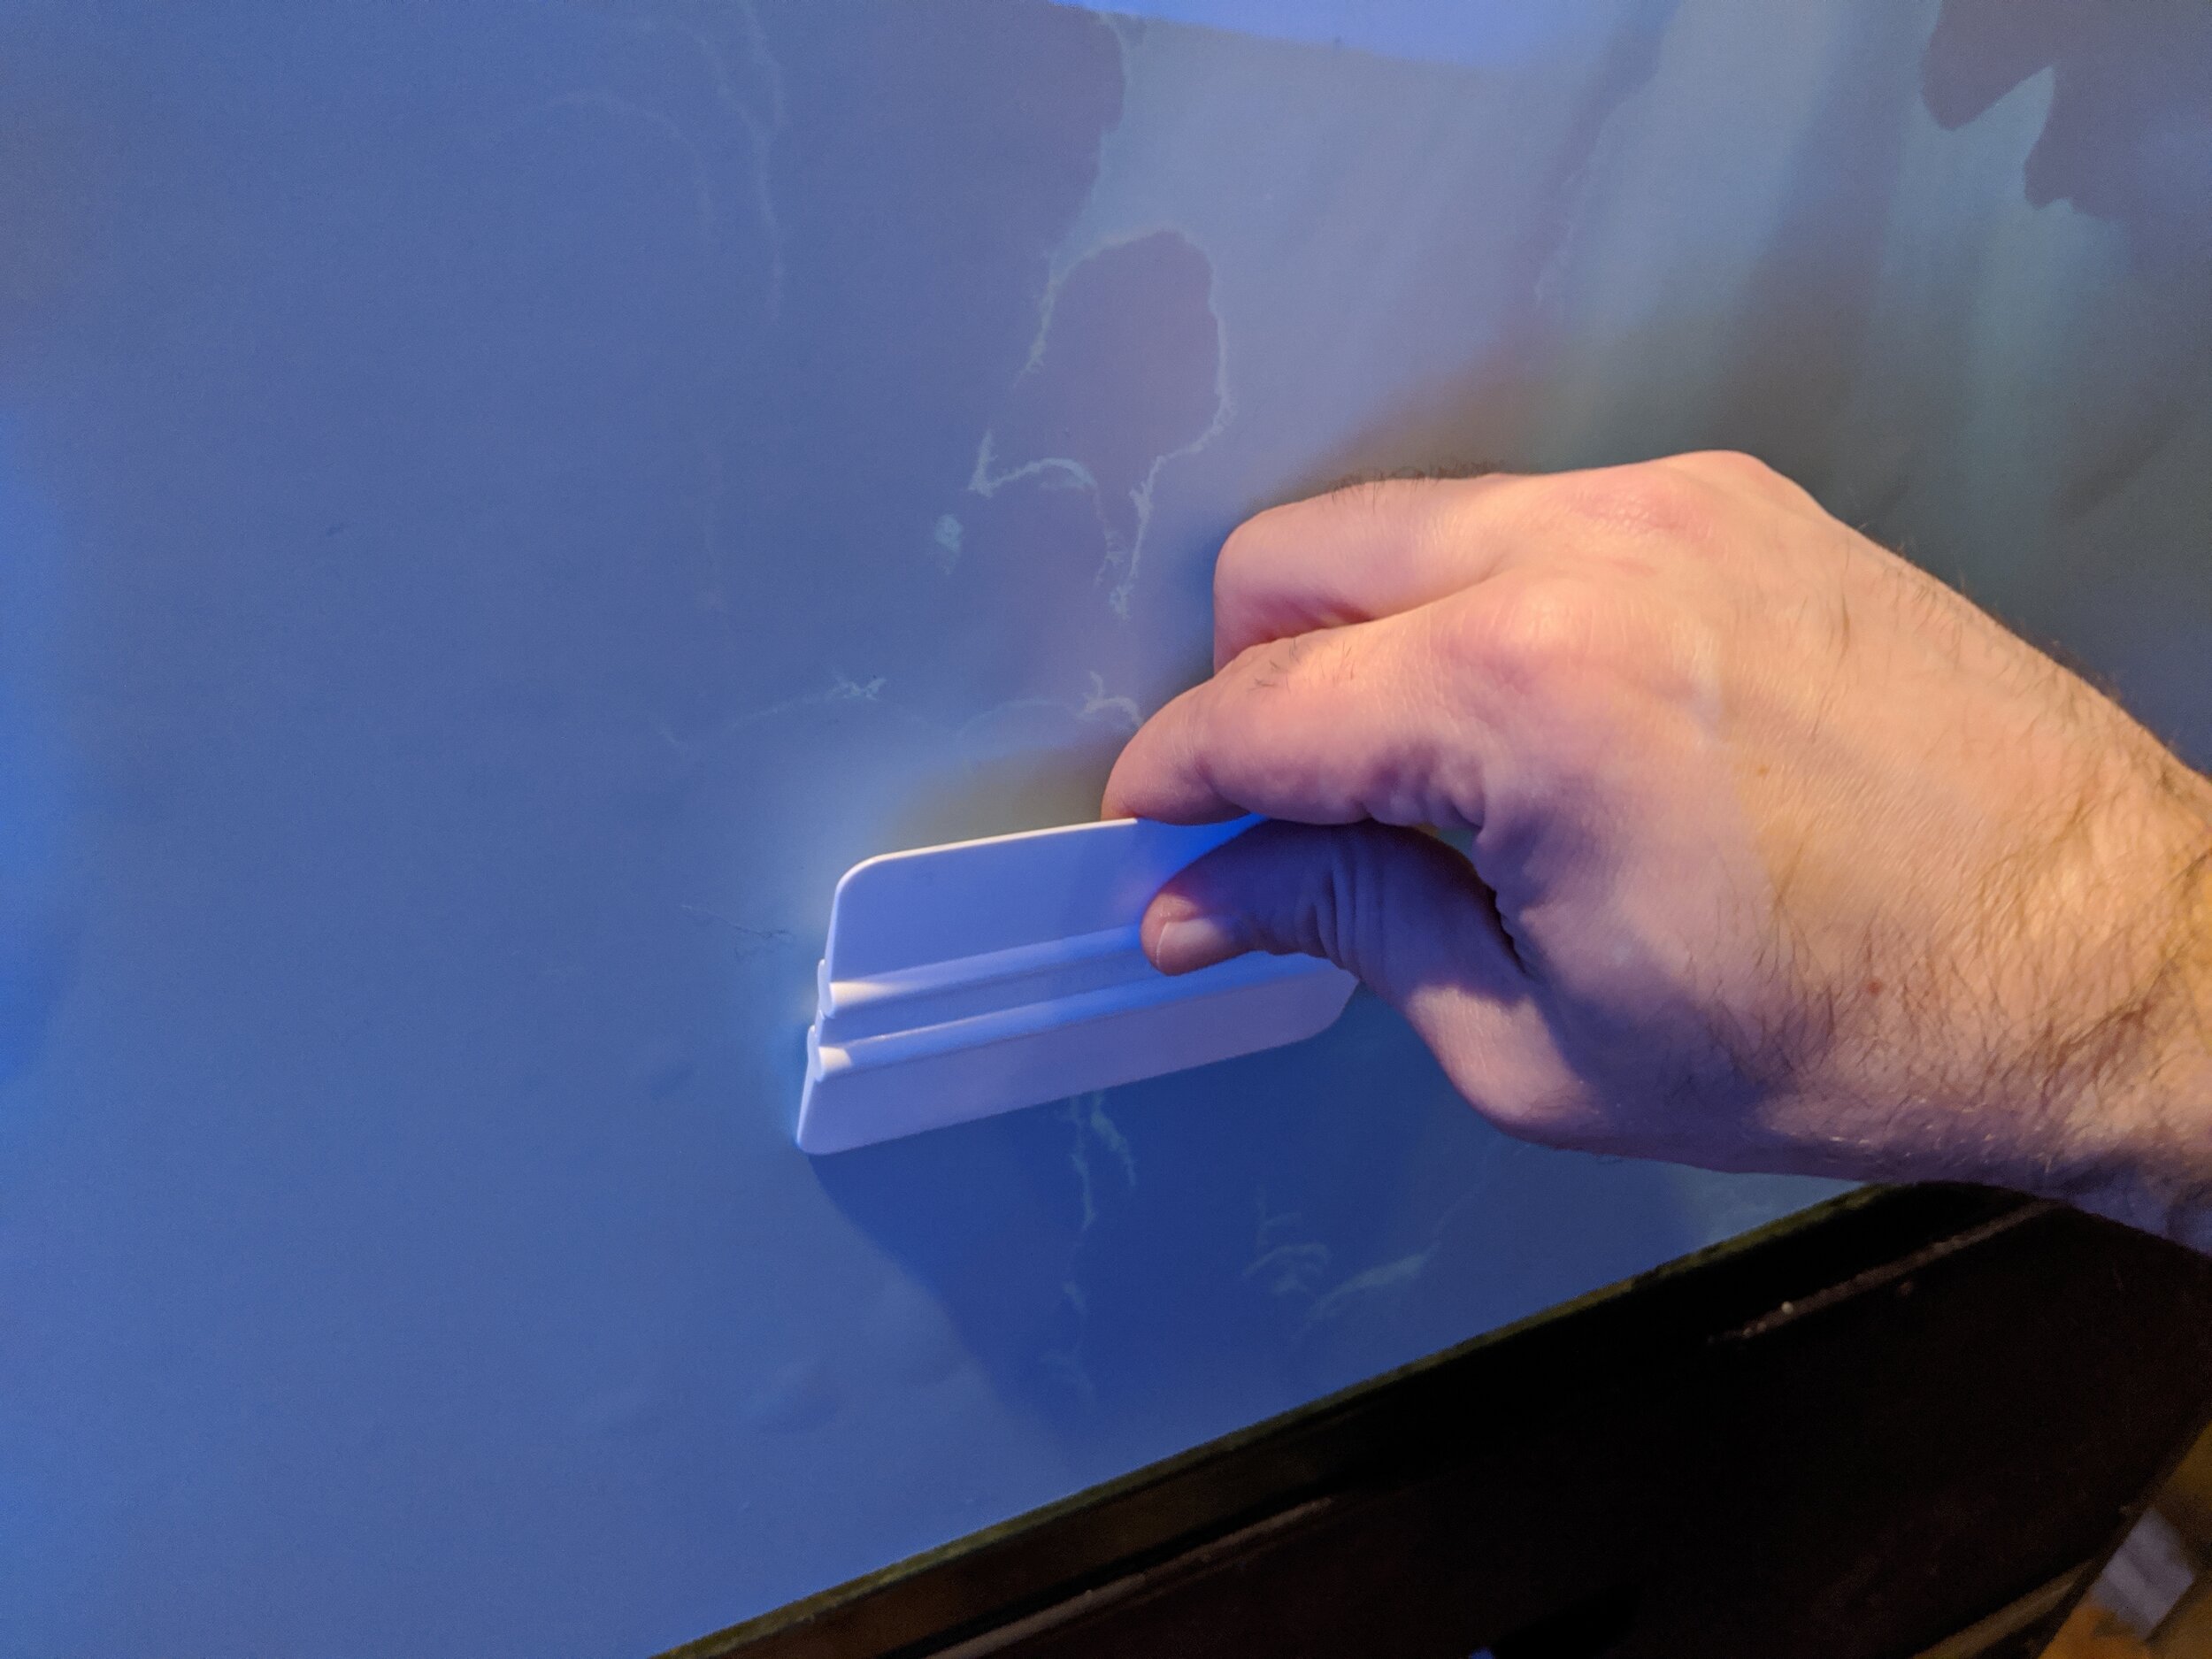
Step 5. Remove backing and install from the center out as described in our installation instructions.
Remove the backing and smooth out the background starting from the center, following our installation instructions.

Step 6. After installing out both sides, remove anchoring tape and identify any areas that need to be smoothed out.
After finishing the second side, remove anchoring tape and identify areas that need to be smoothed out.
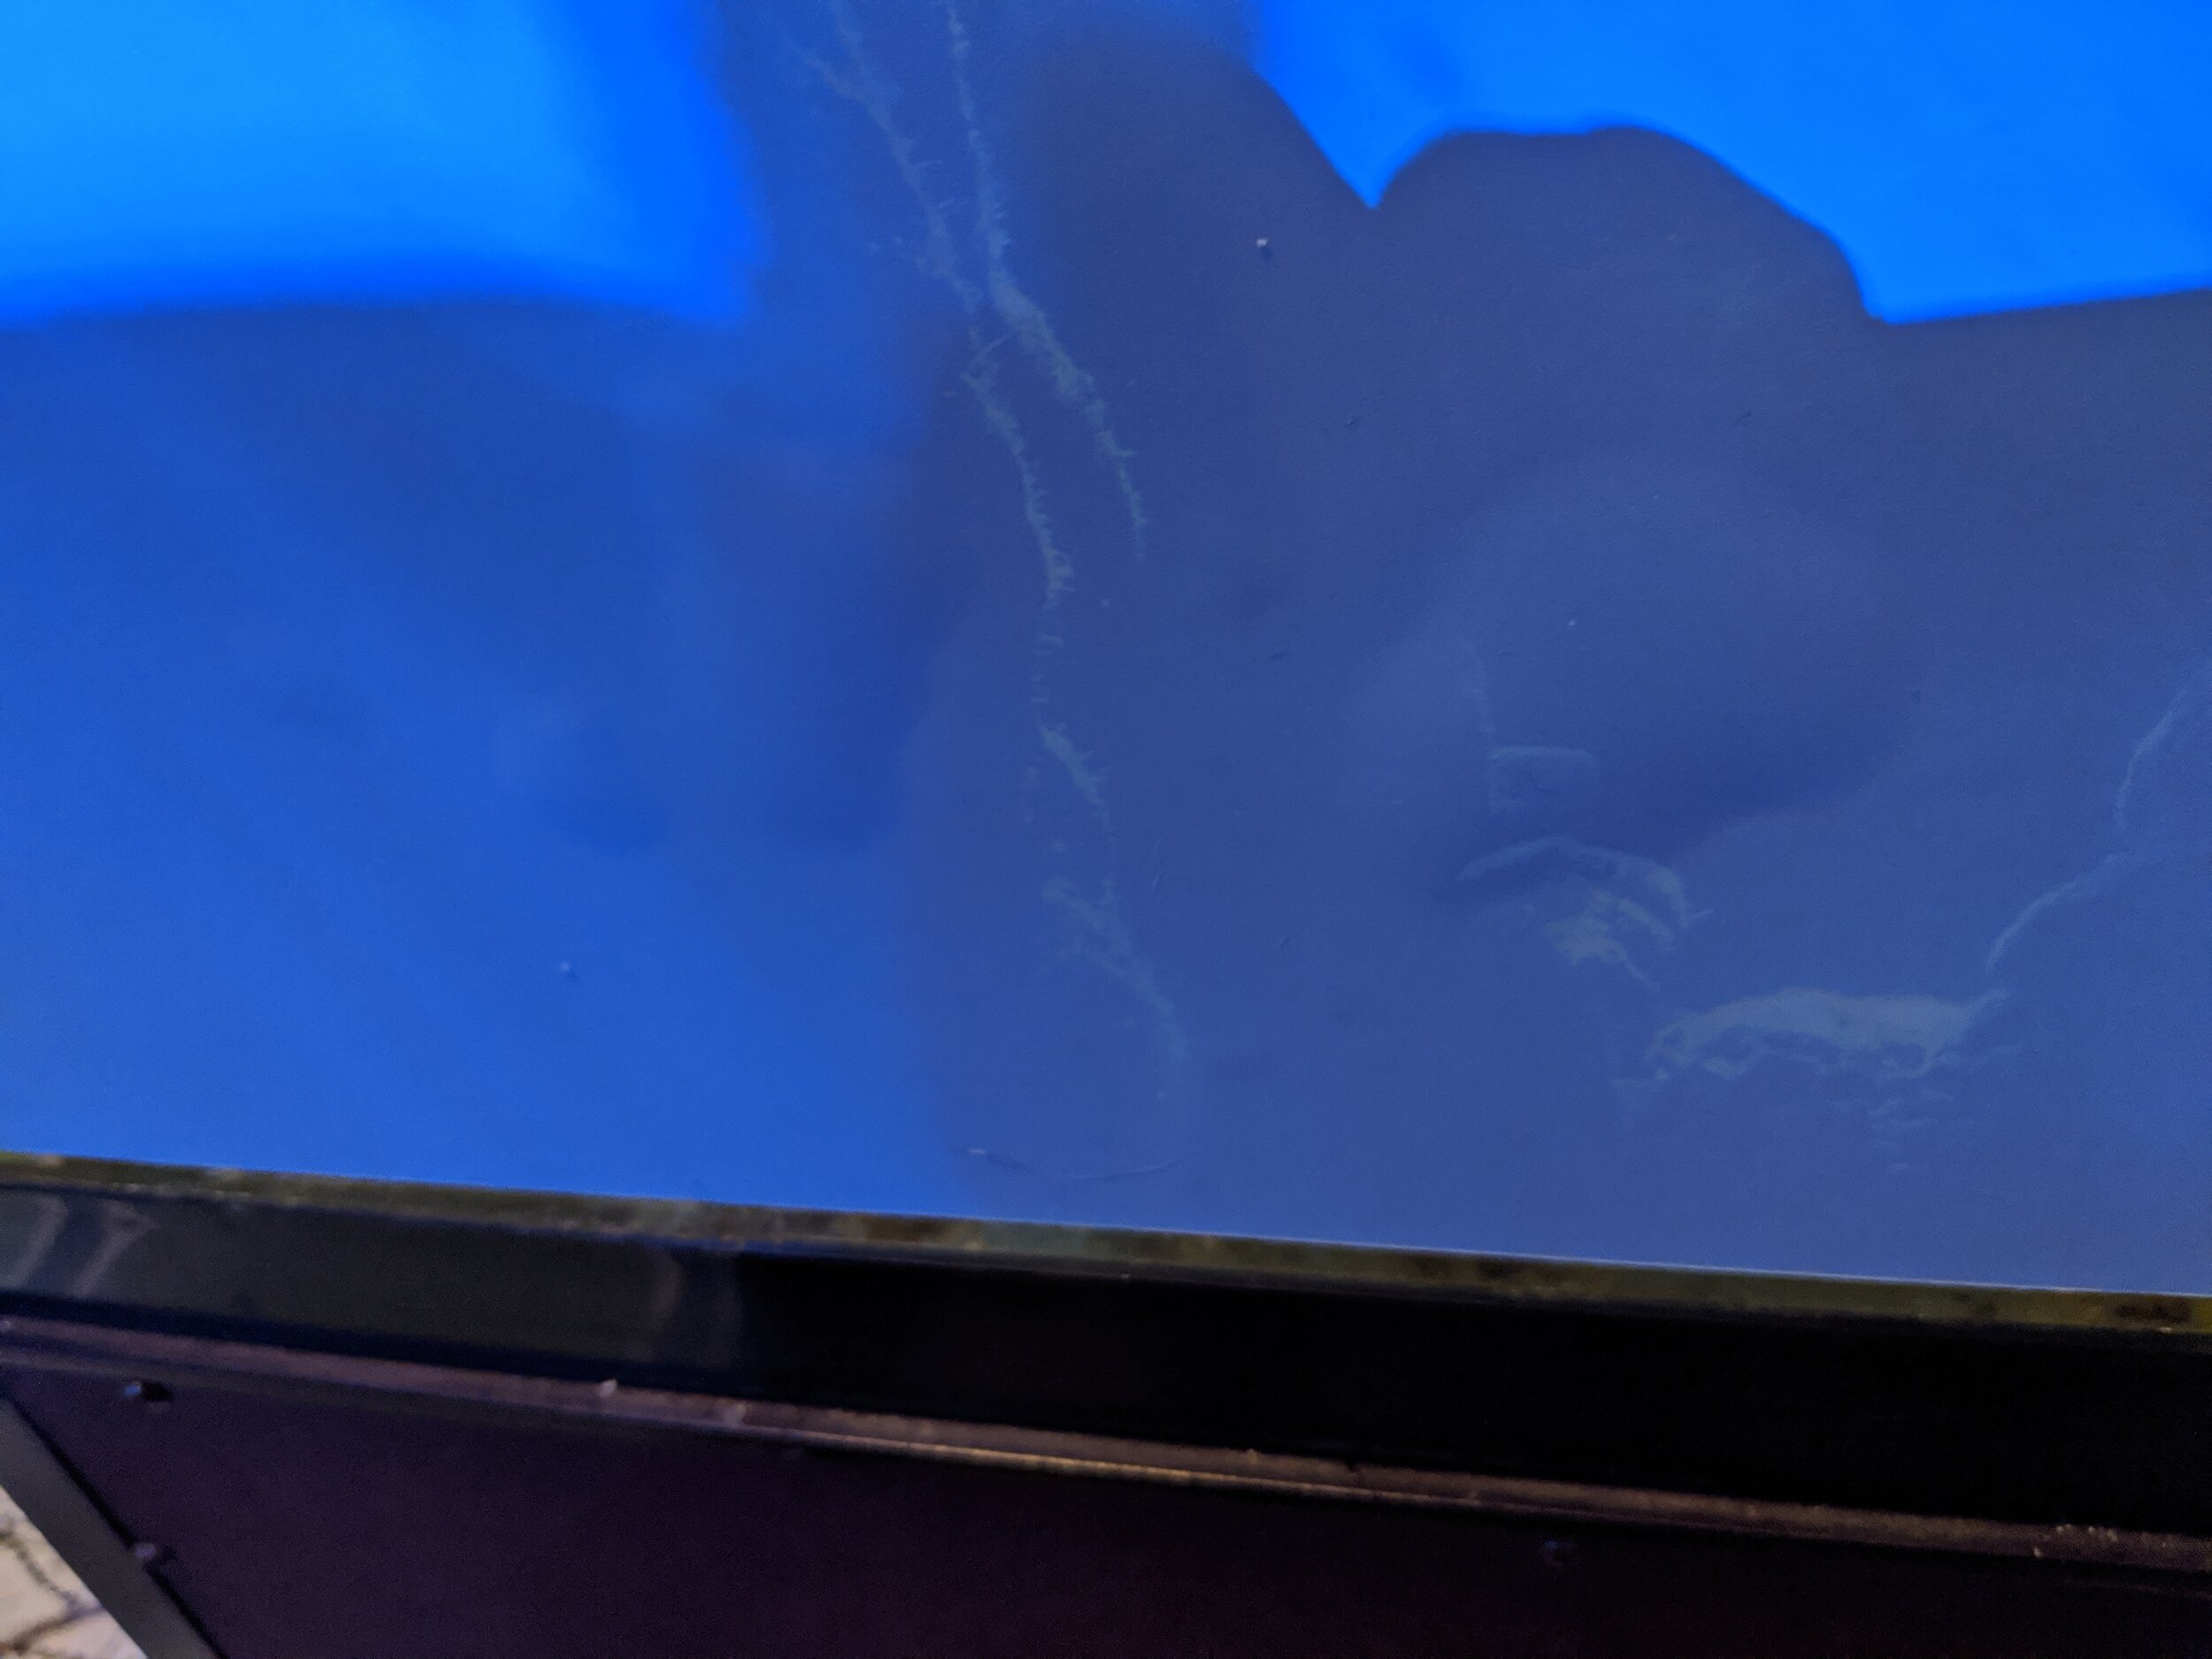
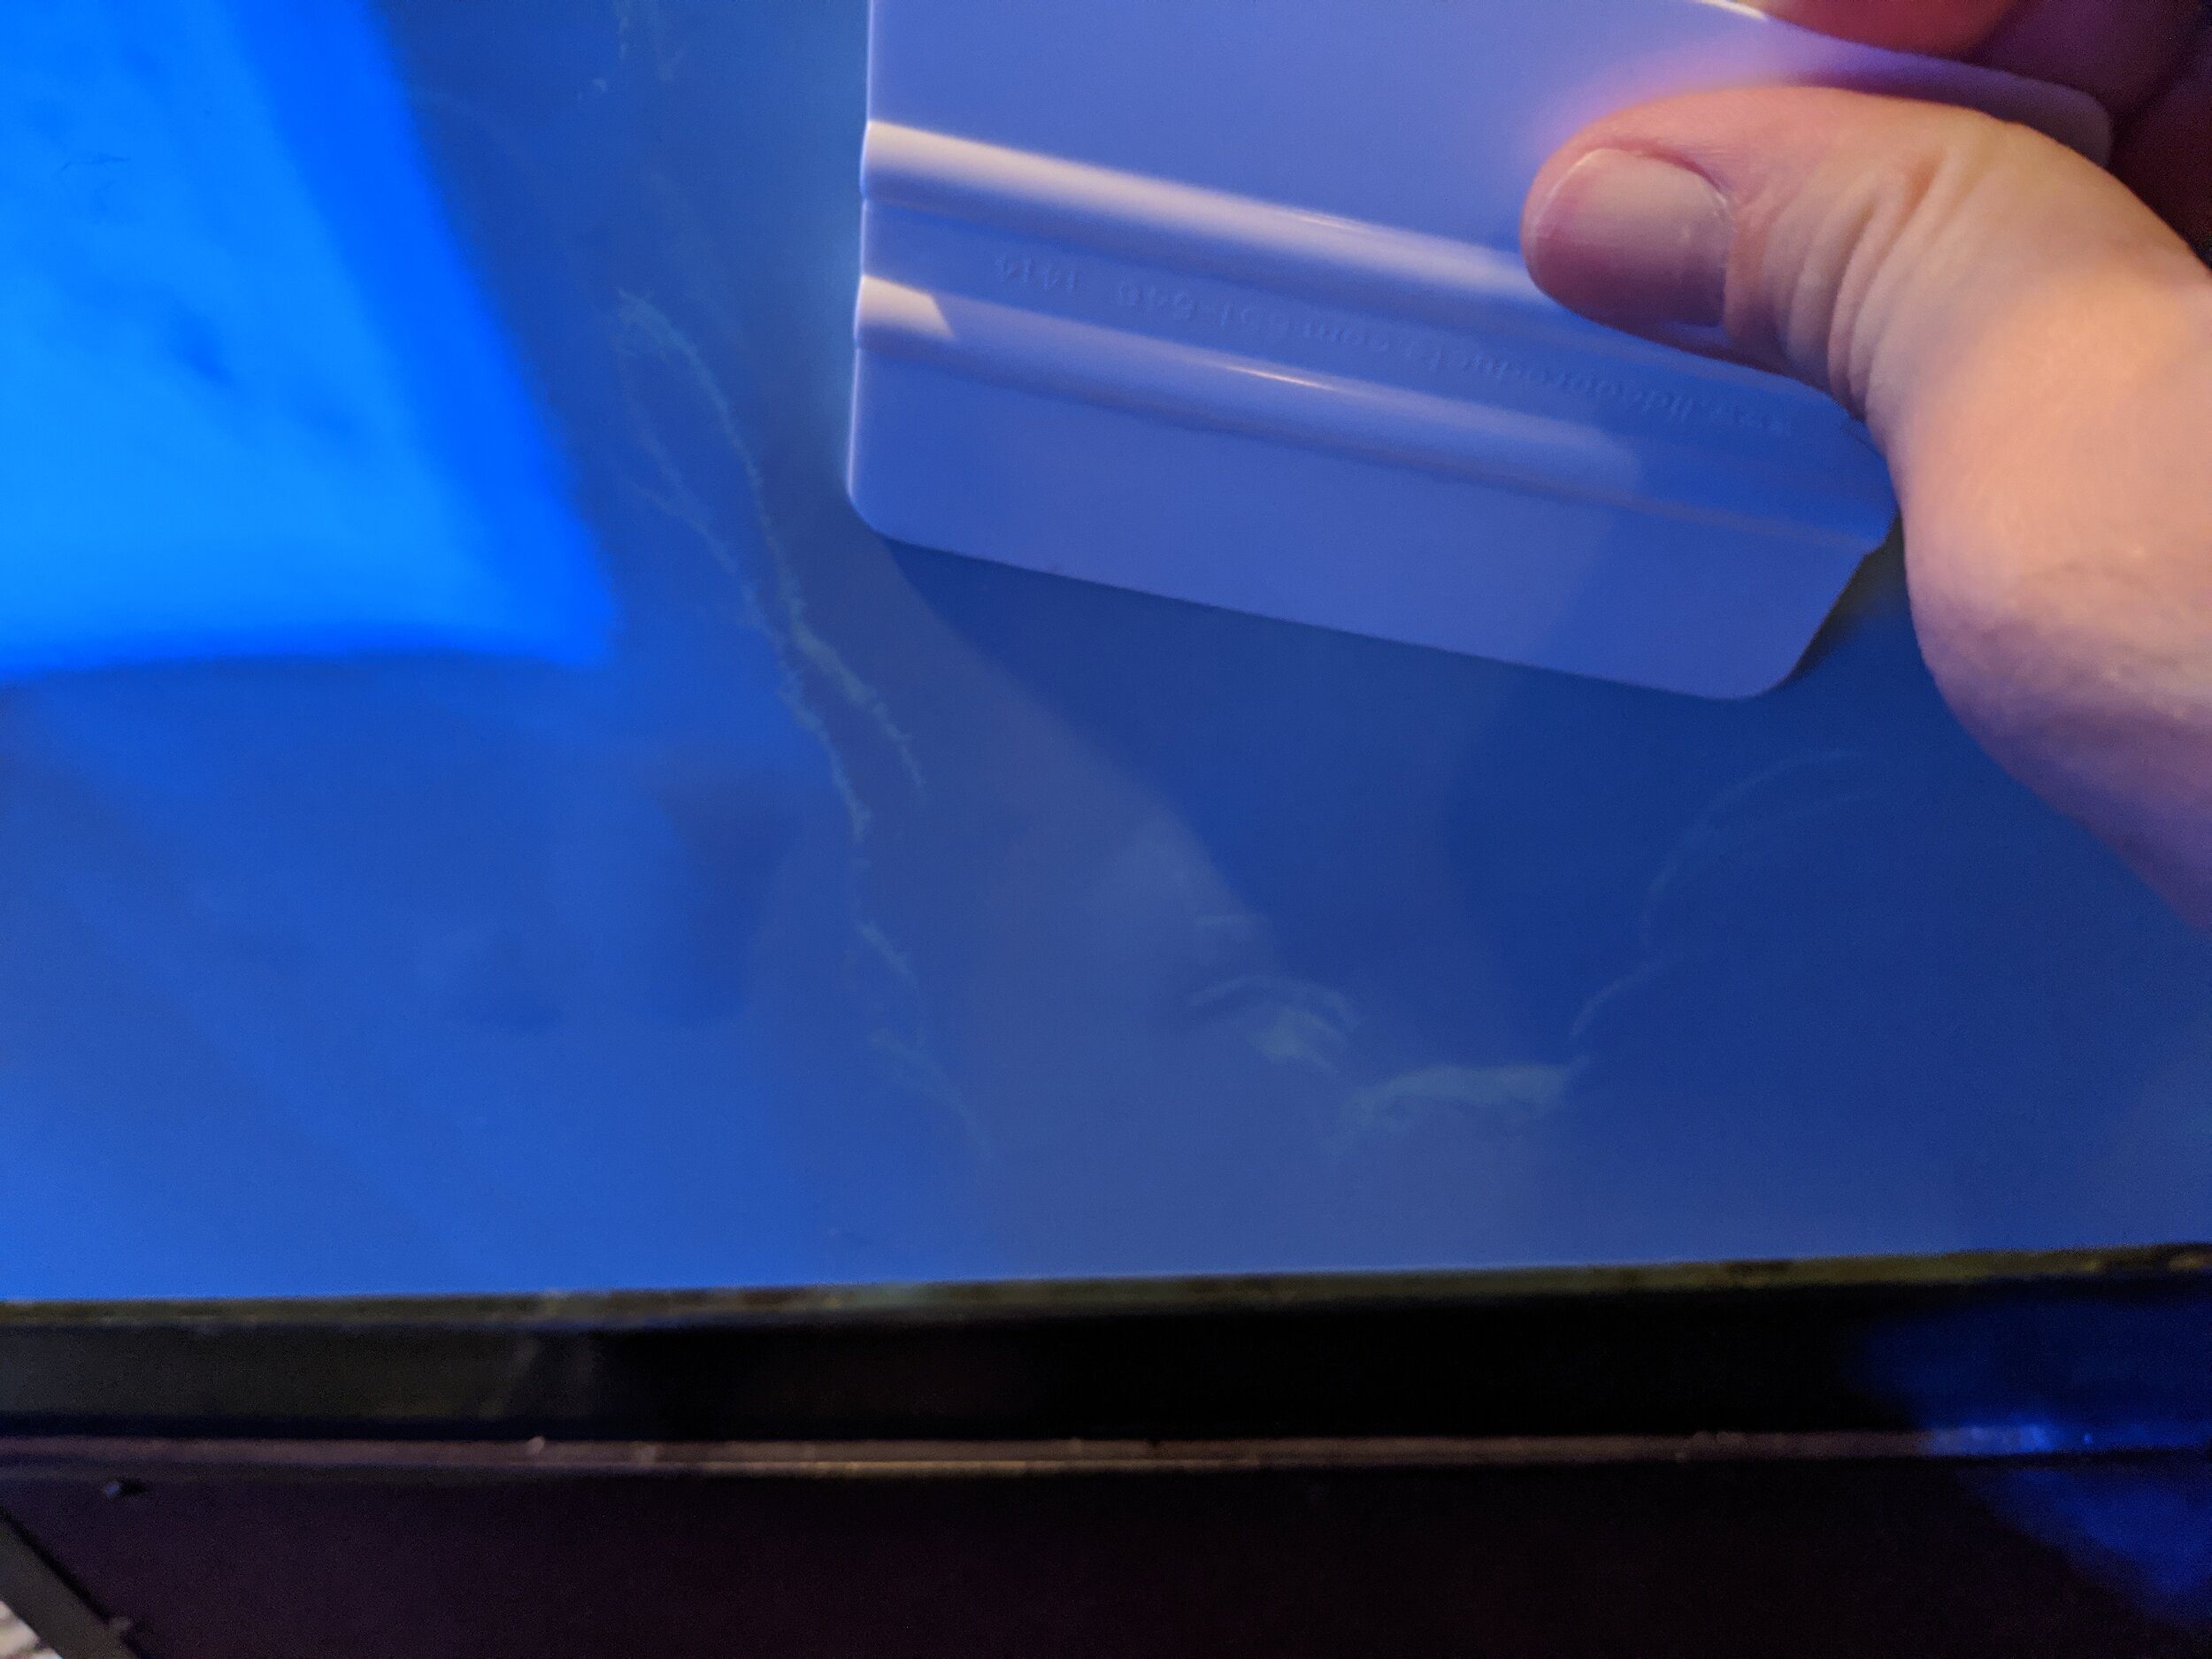
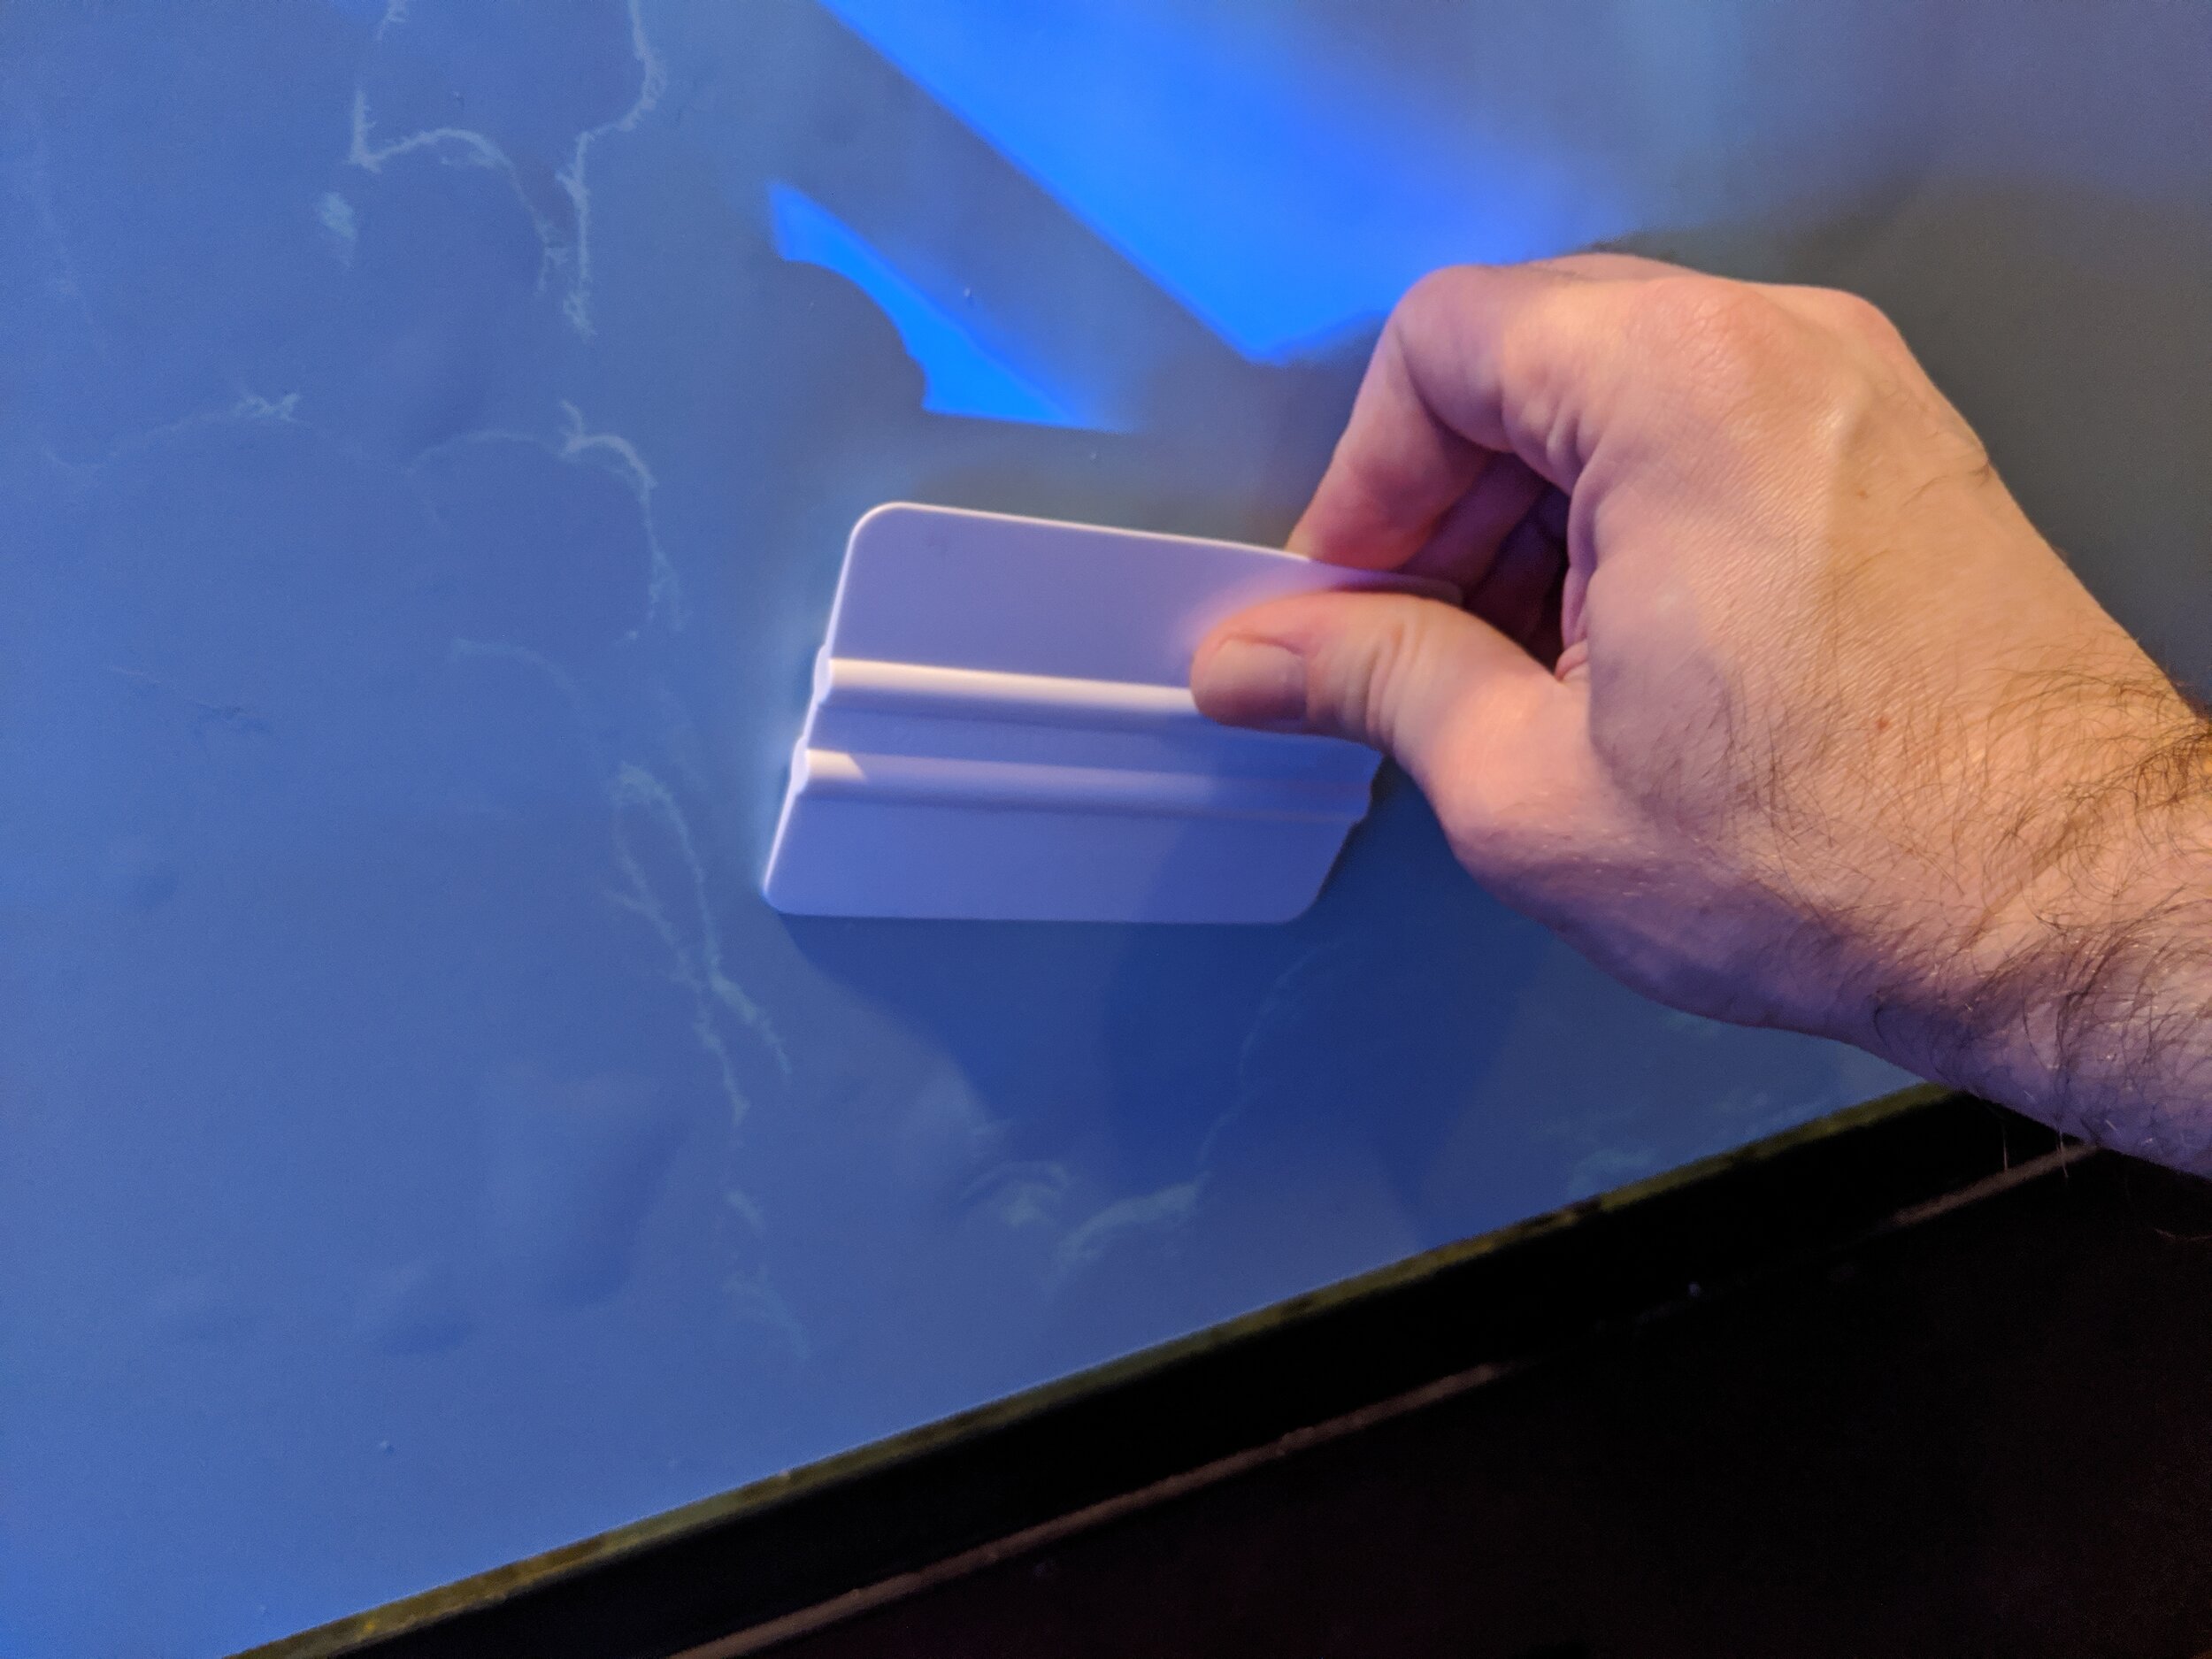
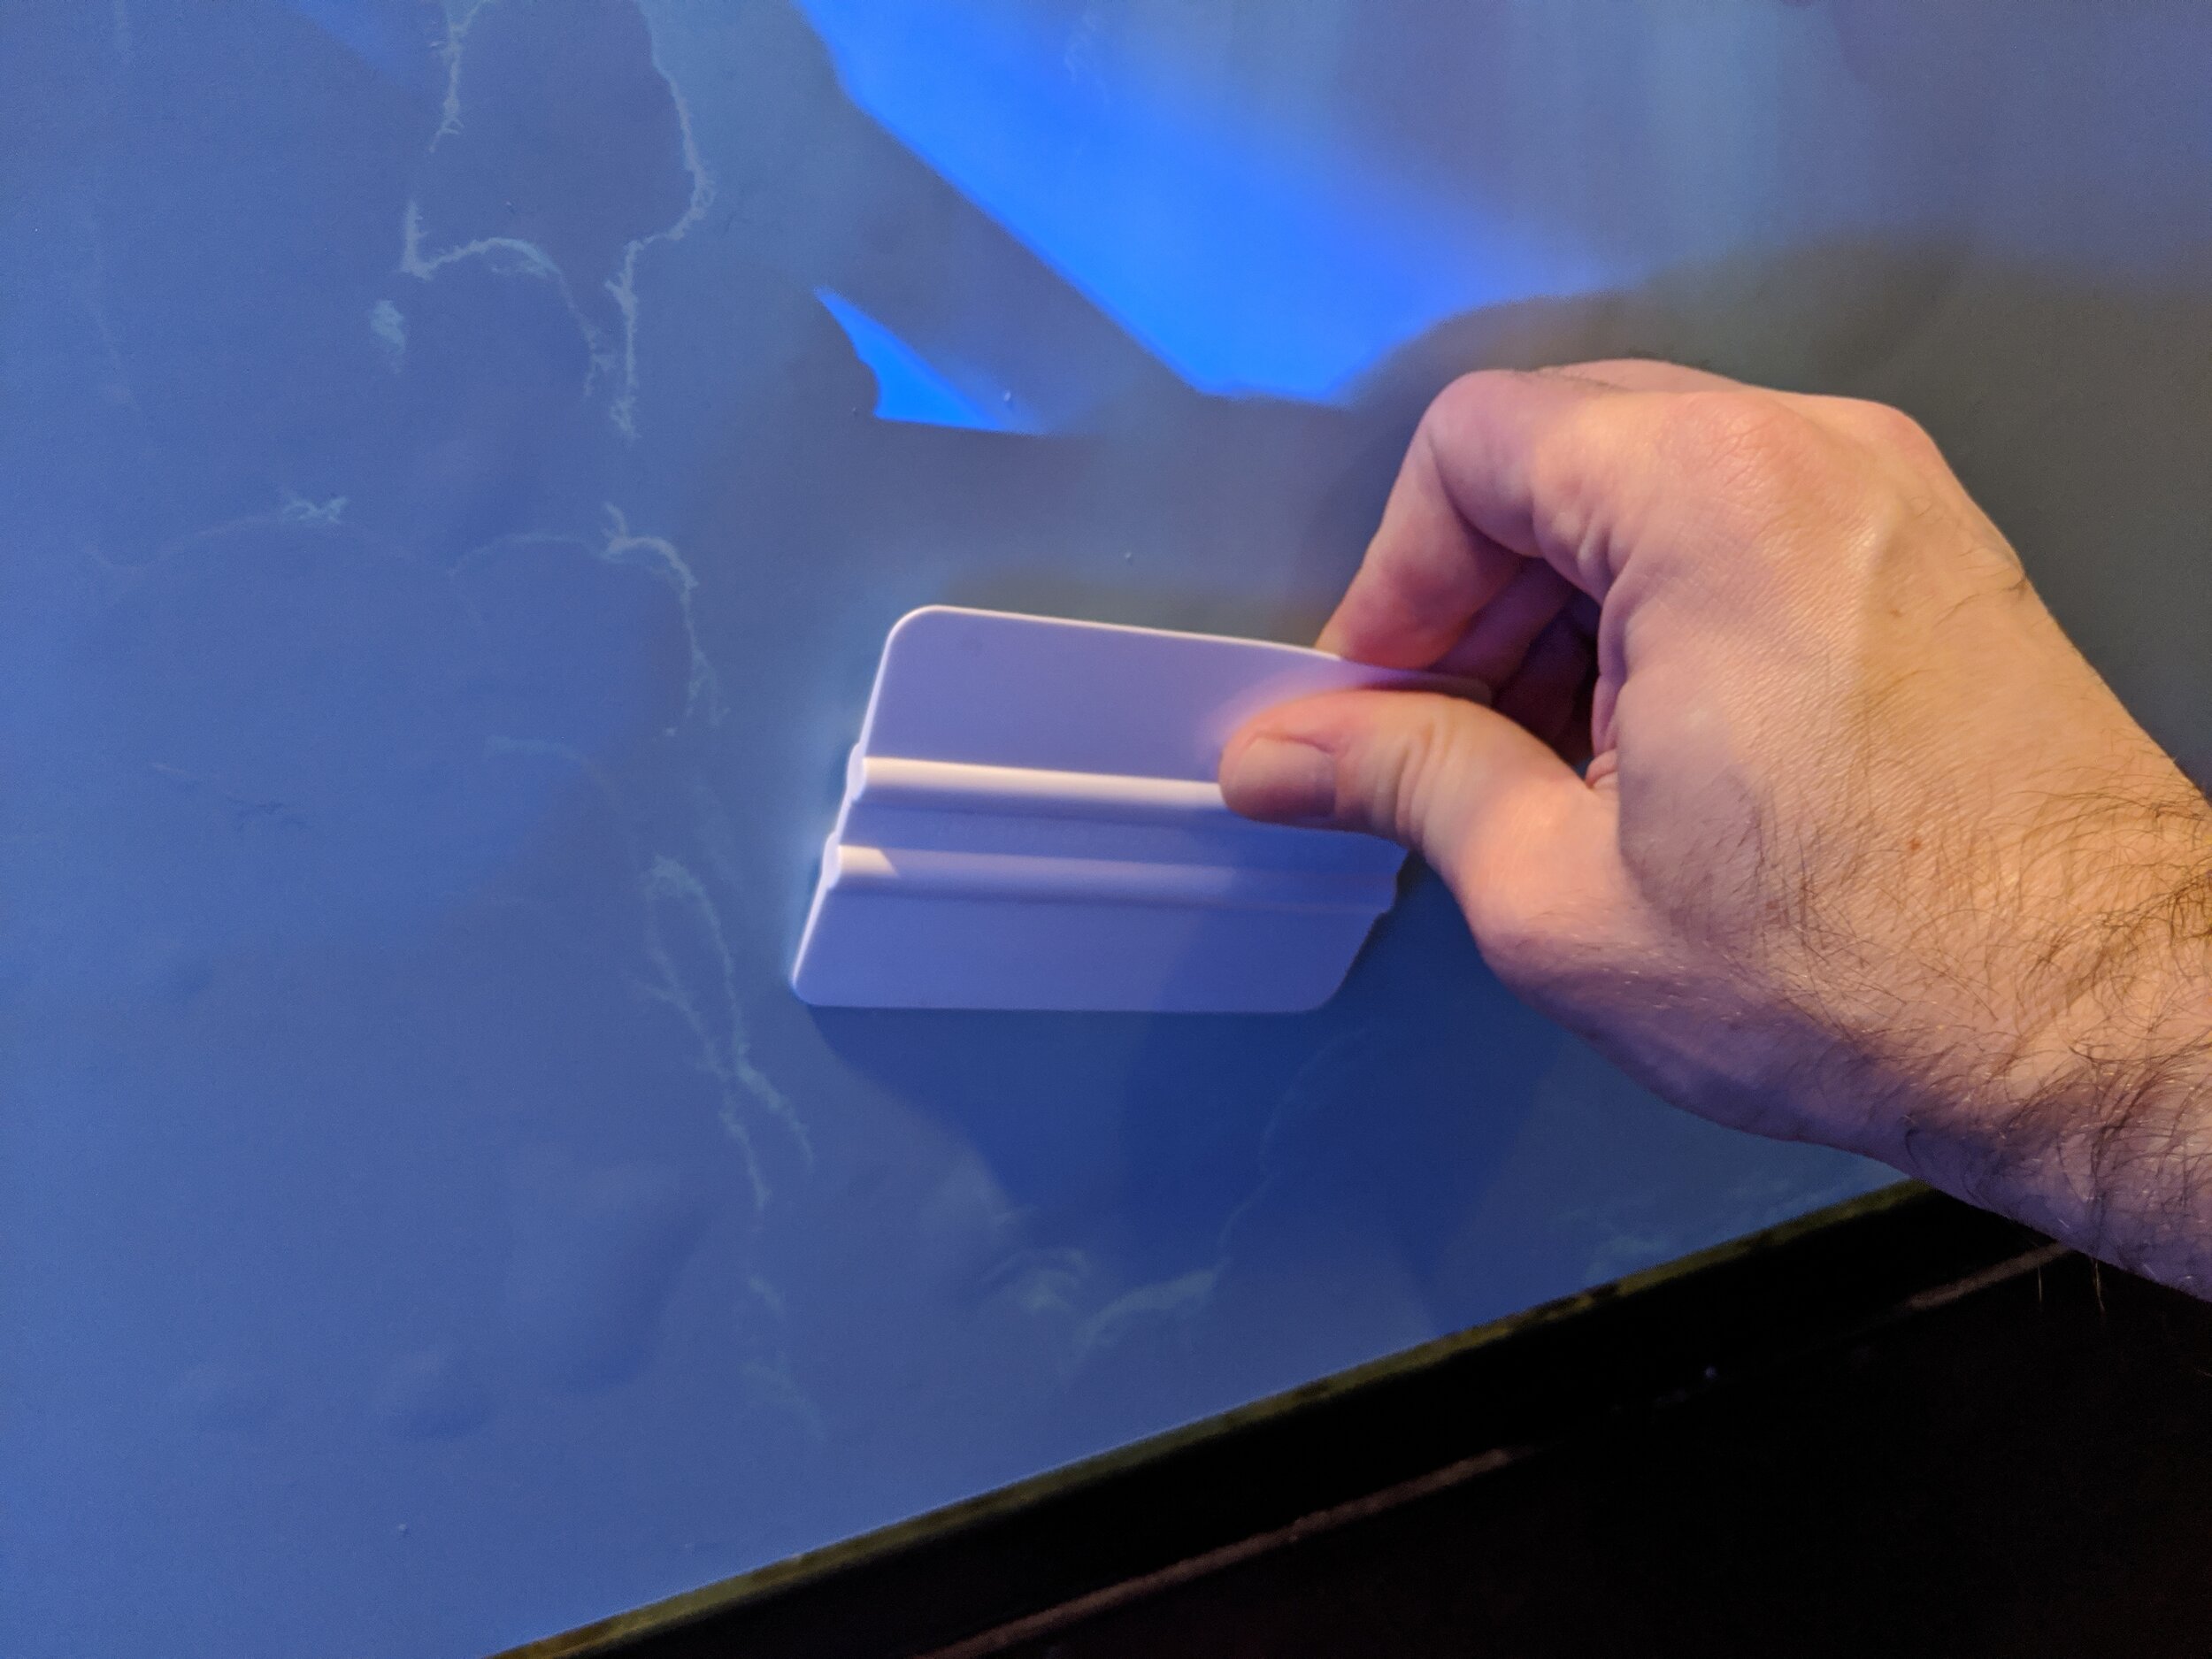
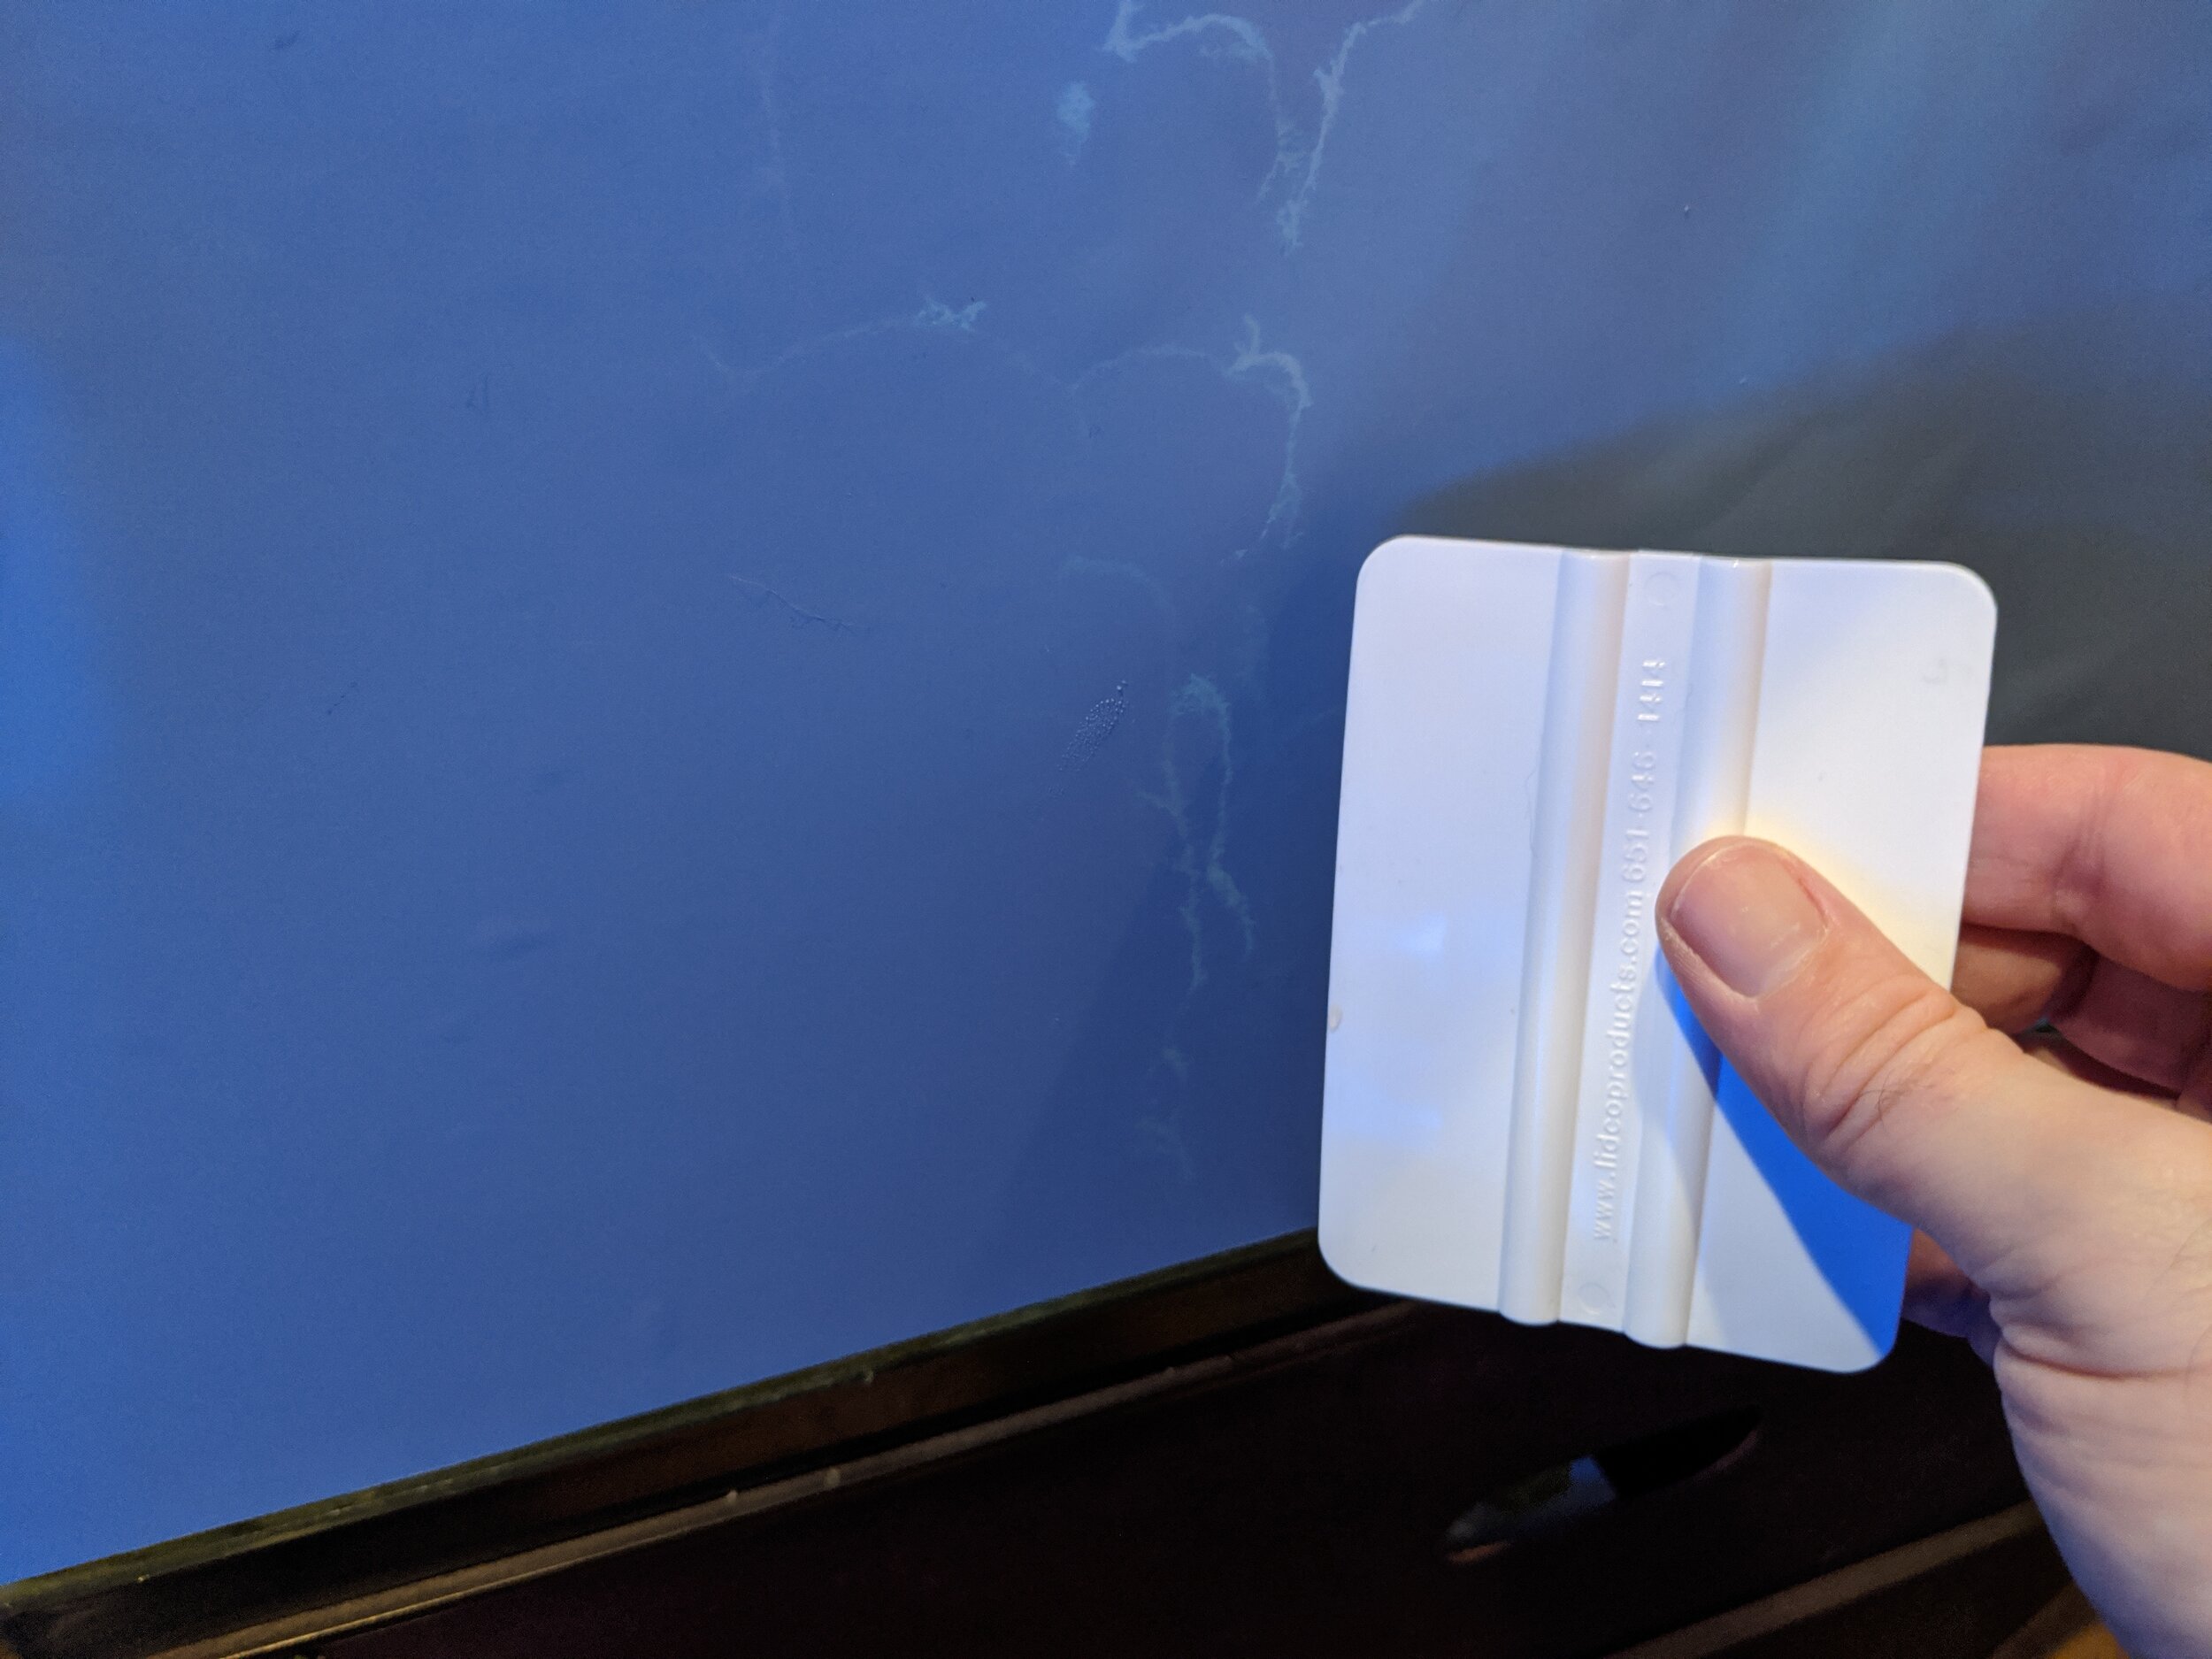
Smooth bubbles out my moving small bubbles together and then pushing to one of the edges. Our material can be lifted up to let air out and re-applied to the tank.

Step 8. Refill tank.
Move tank back to the wall and refill tank.

Step 9. Replace decorations, scaping and equipment.
Replace all of your decorations, hardscape and equipment. Installations on standing tanks are more difficult than on an empty, face-down tank, so a few small bubbles may remain after installation. They can be squeegeed out (see steps above), but also keep in mind that small bubbles will settle out over the first few weeks after installation.

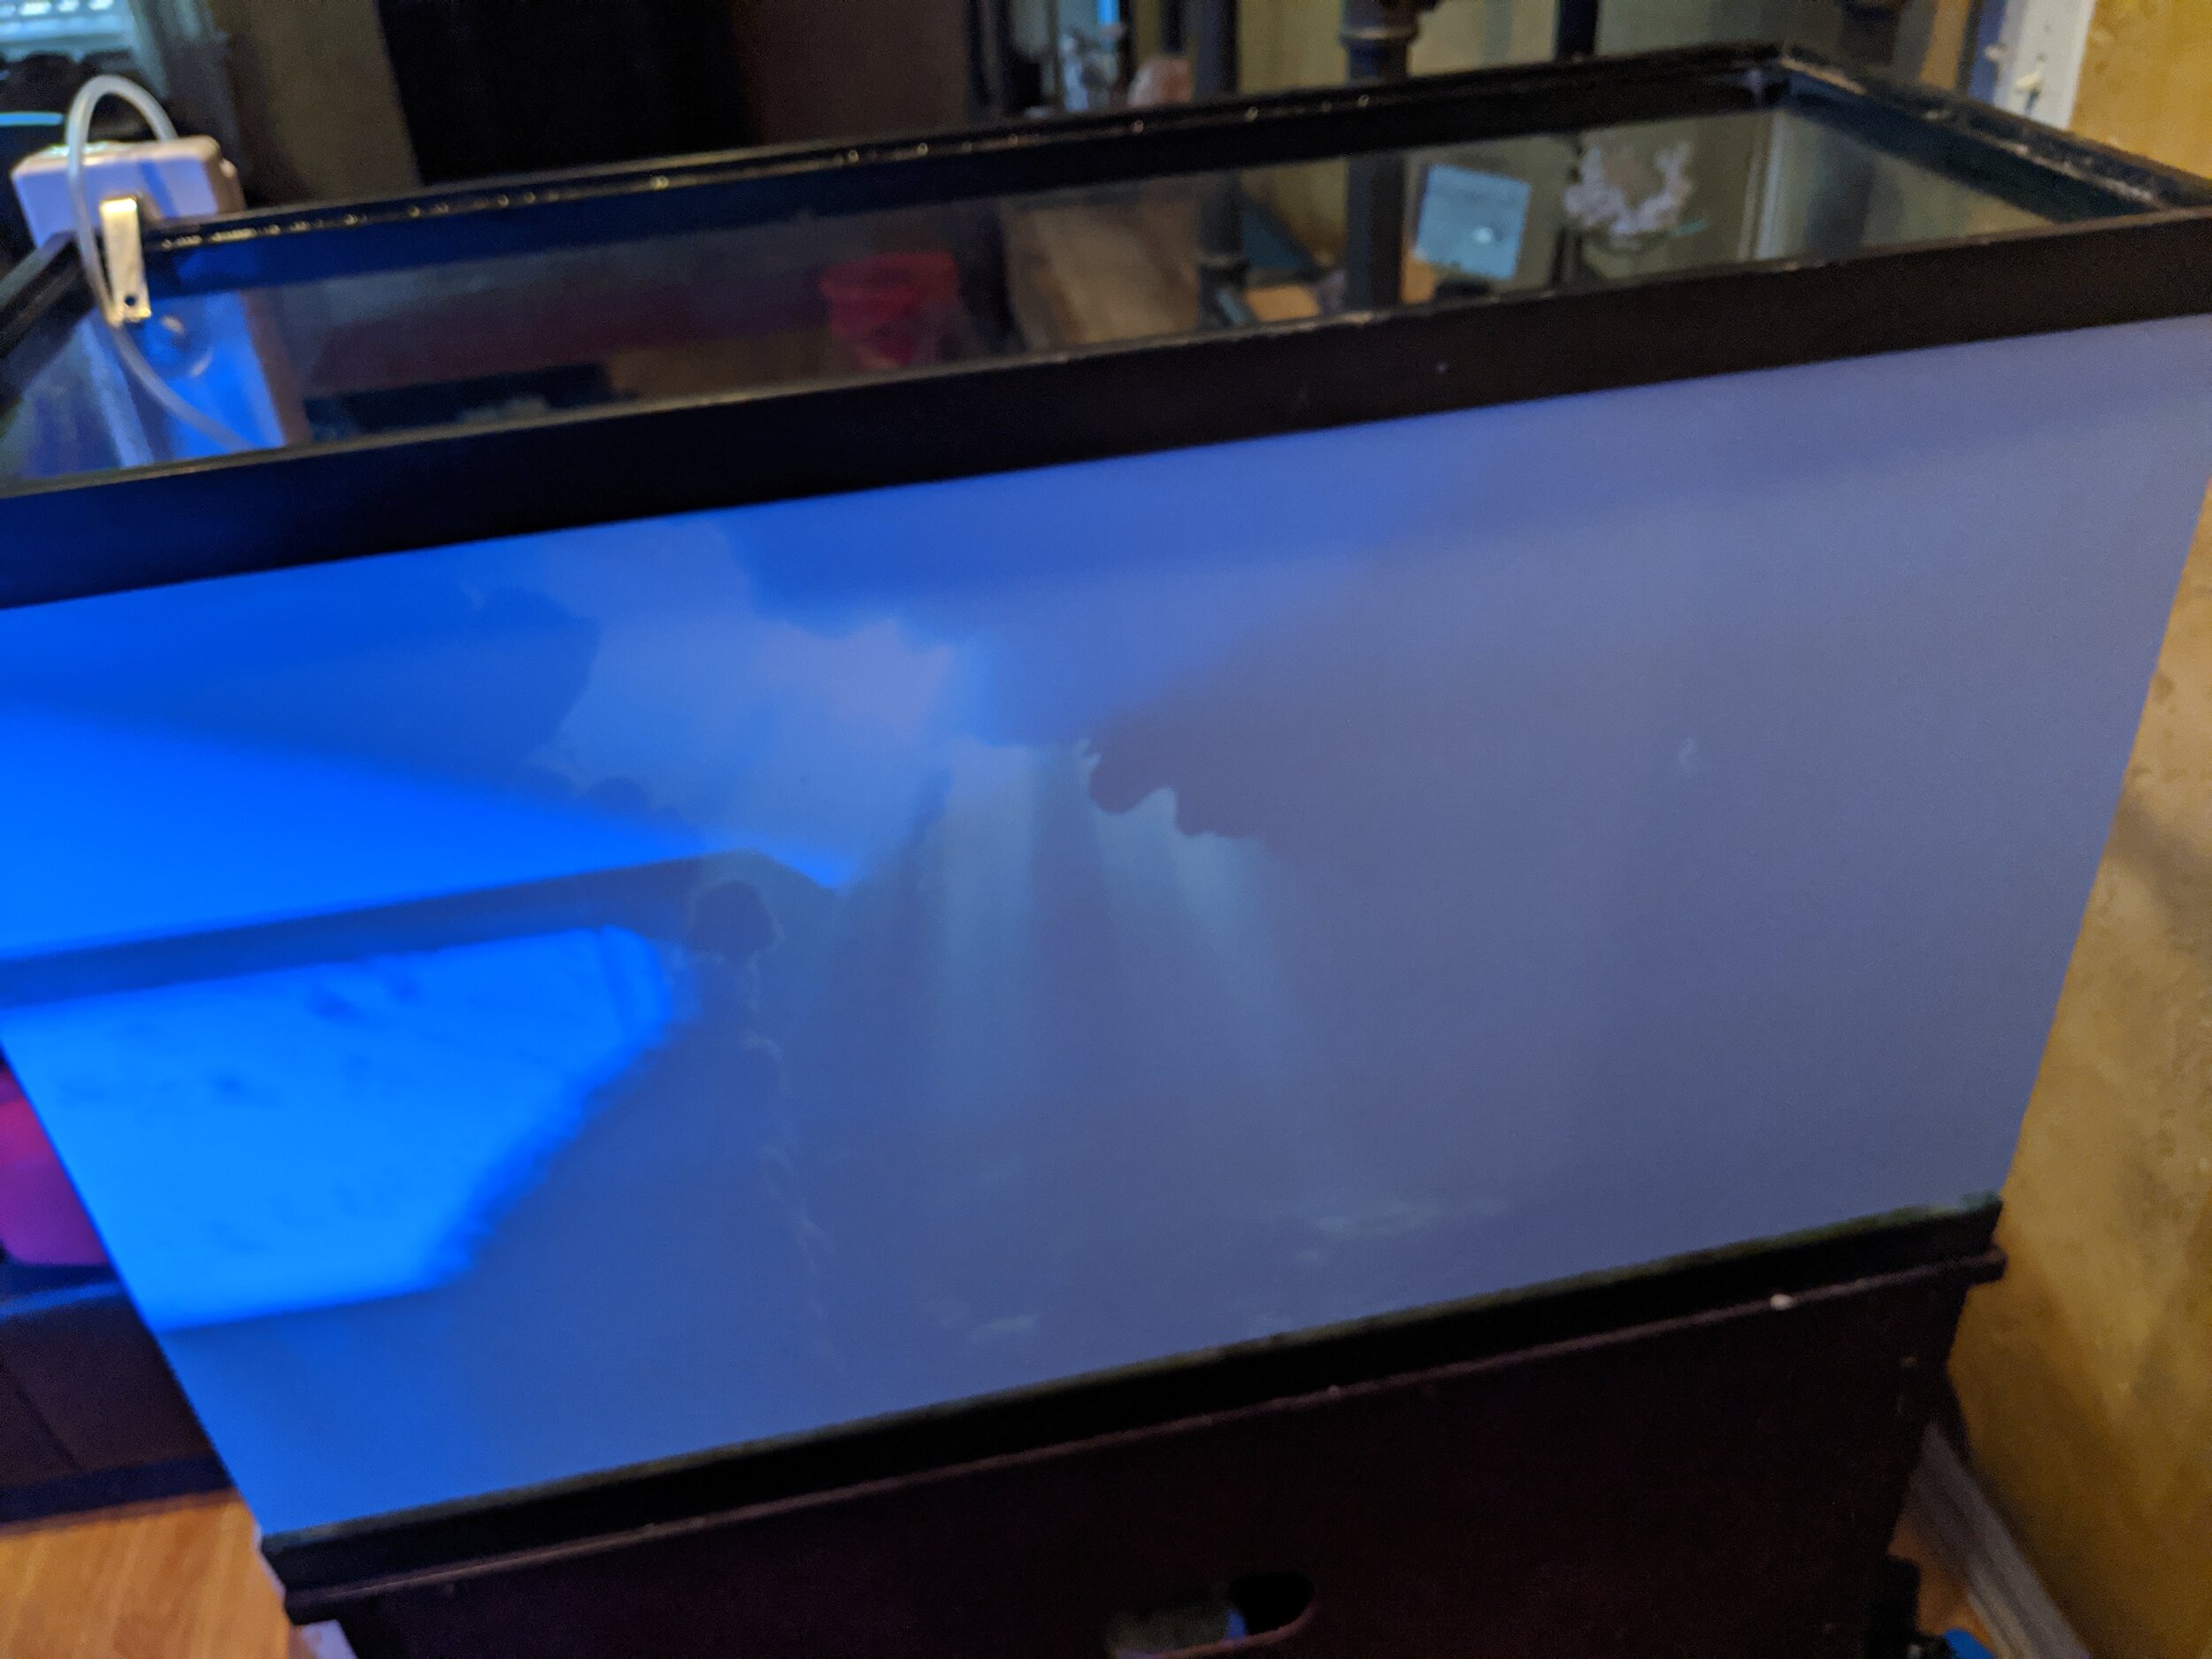
AN EXTREME EXAMPLE OF BUBBLES, 24 HOURS AFTER INSTALLATION

ONE MONTH AFTER INSTALLATION